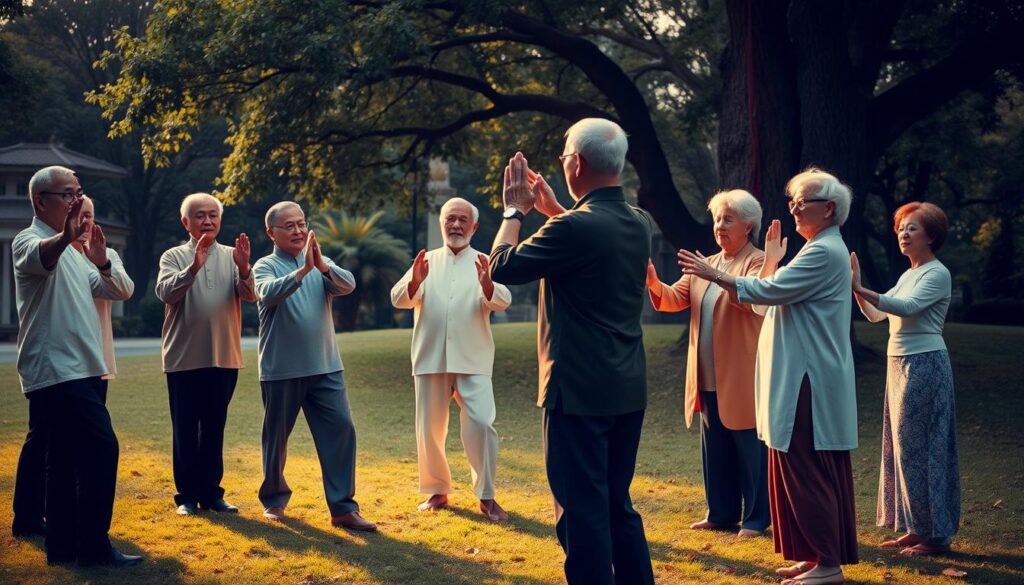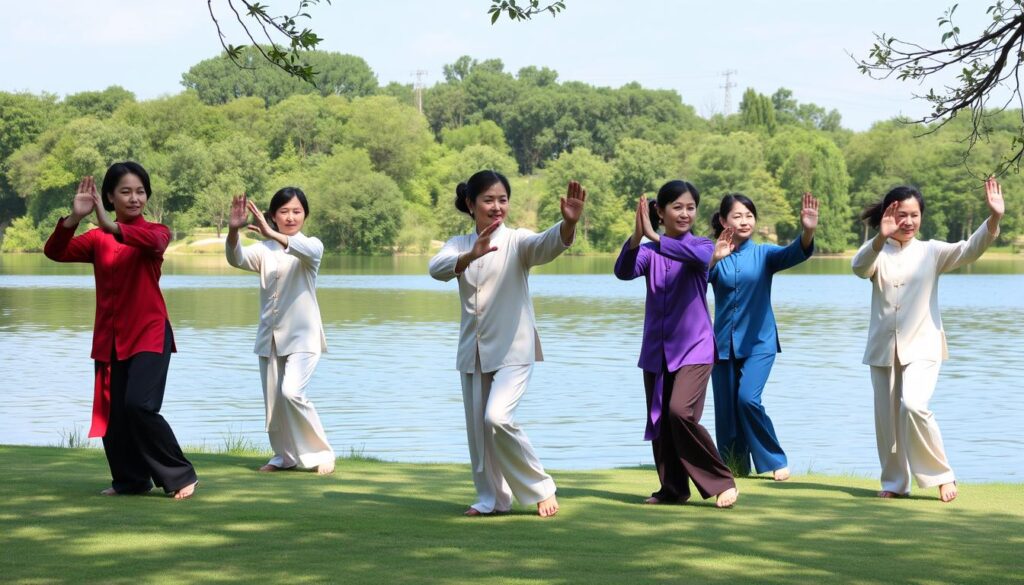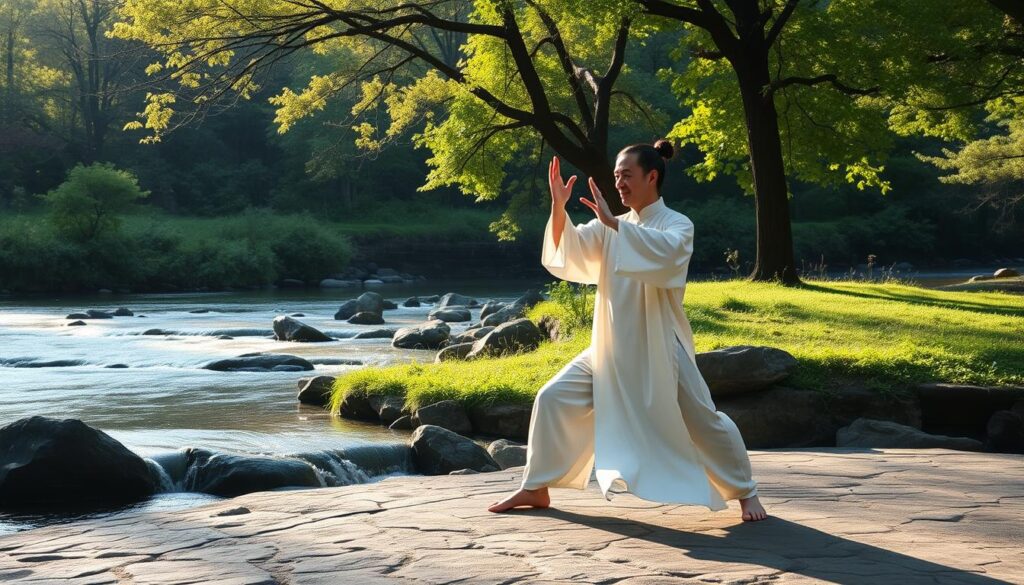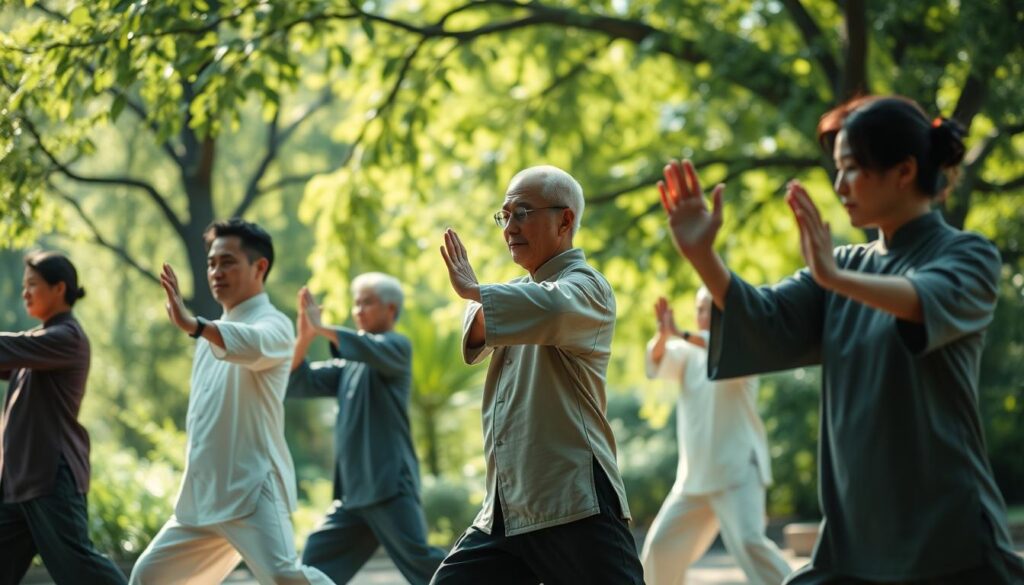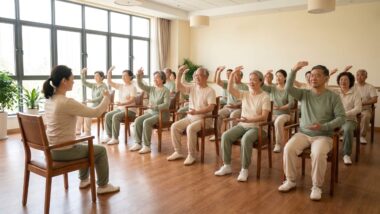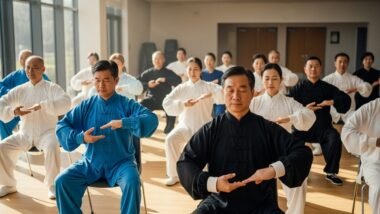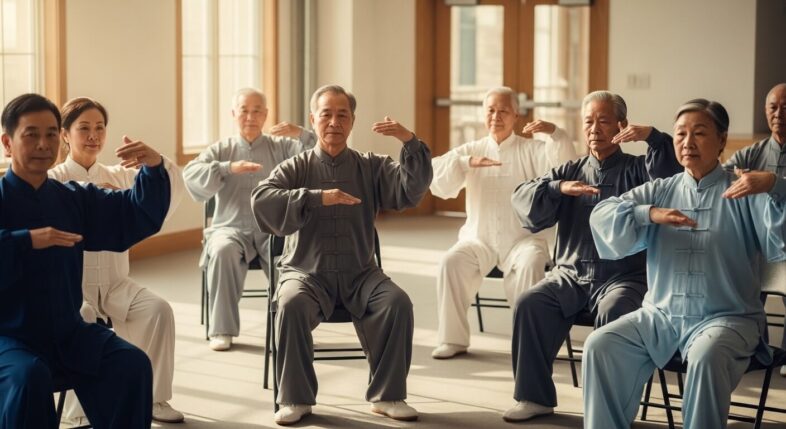
Seated chair tai chi exercises for seniors are adapted from traditional standing tai chi movements to create a gentle, low-impact workout that will improve balance and relieve joint pain without standing and aggravating existing leg problems. If balance issues, joint pain, or mobility limits have kept you on the sidelines, then carefully designed seated tai chi exercises can be your safe way to get all the calming, strengthening benefits of this ancient practice while sitting on a chair.
I'll walk you through 16 seated chair tai chi exercises for seniors, explain exactly how to perform each one with proper breathing, and put them in the correct routine order, with a "Best for" label on each so you can find the moves that match your goals — whether that's balance, flexibility, stress relief, or fall prevention.
Health Benefits of Seated Chair Tai Chi for Seniors
Seated chair tai chi improves circulation, joint mobility, mental focus, and emotional wellbeing while lowering the fall risk that comes with standing balance work. Here's what regular practice can do for you:
- Seated tai chi helped stroke survivors improve arm function and sitting balance – A randomized controlled trial in China of 160 stroke survivors (average age 63), reported by American Heart Association News, found that after 12 weeks a seated tai chi program improved hand and arm function, sitting balance, and shoulder range of motion more than a standard stroke rehab exercise program.
- Support for fall prevention — even seated, tai chi can help train the core stabilizers and body awareness that help keep you steady when you do stand
- Better circulation — gentle, rhythmic movement encourages blood flow to the extremities without straining the heart
- Joint Pain Relief — slow, controlled motion stretches tight tendons, ligaments, and deep connective tissue (fascia), reducing the joint stiffness in the shoulders, wrists, hips, and knees that causes daily pain and encourages synovial fluid circulation inside the joint capsules, nourishing the cartilage and making movement smoother
- May help lower blood pressure, stress and anxiety — the combination of breath and movement is thought to activate the parasympathetic nervous system
- Sharper focus and memory — coordinating breath, movement, and sequence gives the brain a light cognitive workout
Why Breathing Is Central to Seated Tai Chi
Breath is what turns simple chair movements into tai chi, because it's the slow, coordinated inhale-exhale pattern that calms the nervous system and powers each motion. In seated tai chi, you'll generally follow this pattern:
- Inhale on opening or gathering movements — as your arms lift, open, or draw energy inward
- Exhale on closing or releasing movements — as your arms lower, press outward, or release tension
- Breathe through the nose when possible, keeping breaths long, slow, and even
- Never hold your breath during a hold or stretch — this raises blood pressure unnecessarily
- Match breath length to movement length — a slow movement gets a slow breath, not a rushed one
Safety Tips and What You’ll Need Before You Begin
The most important safety rule is to choose a sturdy, armless chair with a firm seat and to move only within a pain-free range of motion. You will also need comfortable clothing and about ten square feet of open space.
Your Setup
| Item | Why It Matters |
|---|---|
| Chair with a flat, firm seat | Soft cushions throw off your balance |
| No wheels | Rolling chairs can slide out from under you during movement |
| No armrests | Armrests restrict the arm movements central to tai chi forms |
| Back support | Supports your back between movements and during leg lifts |
| Correct height | Knees at roughly 90 degrees with feet flat on the floor gives you a stable base and better balance |
| Chair placed against a wall | Stops the chair from sliding backward and gives you support if you feel unsteady |
| Loose, breathable clothes | Lets your arms and shoulders move freely |
| Shoes with good grip (or bare feet on non-slip flooring) | Keeps feet stable during seated leg movements |
| Open space of about 10 square feet, clear of furniture | Prevents bumping a side table or lamp mid-movement |
| Water nearby | Prevents dehydration during longer sessions |
Safety Tips
- Check with your doctor first — Confirm the exercises are appropriate for your specific health condition, especially if you have had a hip or knee replacement or recent surgery, or have osteoporosis, vertigo or dizziness, blood pressure or heart problems, glaucoma, or a shoulder injury.
- Sit toward the front edge (slightly further back for leg lifts) — Keeps your spine upright and gives your arms and legs room to move.
- Move slowly and with control — Reduces strain and helps you notice pain before it becomes injury.
- Stop if you feel sharp pain or dizziness — Prevents minor discomfort from becoming an injury.
20-Minute Chair Tai Chi Workout Routine
This 20-minute routine strings all 16 exercises together in one continuous session, moving from gentle warm-up postures into balance and strength work before finishing with slow, calming movements. Click any exercise name for its full step-by-step instructions. Rep counts below are lower than the ranges in each exercise's instructions so the full routine fits in 20 minutes; times are approximate.
| Exercise | Time | Reps | Benefits |
|---|---|---|---|
| Opening the Tai Chi Form | 0:00 – 1:00 | 4 reps | Eases you into flowing movement and sets breathing rhythm |
| Wave Hands Like Clouds | 1:00 – 2:30 | 8 cycles | Calms the nervous system and loosens the upper spine |
| Repulse the Monkey | 2:30 – 3:30 | 4 reps, alternating sides | Releases tightness in the shoulders and upper back through a rolling backward motion |
| Single Whip | 3:30 – 4:30 | 4 reps, alternating | Opens the chest and shoulders and improves upper-body posture |
| White Crane Spreads Its Wings | 4:30 – 5:30 | 4 reps, alternating | Trains opposing-arm coordination |
| Golden Rooster Stands on One Leg (Seated) | 5:30 – 7:00 | 4 reps per leg | Builds single-leg stability and core control |
| Parting the Wild Horse's Mane | 7:00 – 8:00 | 4 reps, alternating | Links arm and torso movement patterns |
| Fair Lady Works the Shuttles | 8:00 – 9:00 | 4 reps, alternating | Builds diagonal reaching and torso-turning coordination |
| High Pat on Horse | 9:00 – 10:15 | 3 reps per hand | Gently works the arms and shoulders through a pressing motion |
| Grasp the Sparrow's Tail | 10:15 – 11:15 | 4 reps, alternating | Activates deep core and rotational trunk muscles |
| Playing the Lute | 11:15 – 13:00 | 4 reps per arm, plus wrist circles | Improves fine motor control and wrist flexibility |
| Archer Draws Bow | 13:00 – 14:00 | 4 reps, alternating | Expands range of motion in the shoulder joint |
| Separate Leg / Heel Kick (Seated) | 14:00 – 15:30 | 4 reps per leg | Strengthens quadriceps and hip flexors |
| Needle at Sea Bottom | 15:30 – 17:00 | 3 reps in total, alternating arms | Lengthens the spine and hamstrings |
| Hold the Ball | 17:00 – 18:15 | 4 breath cycles | Centers attention on the breath and settles the mind |
| Closing Posture | 18:15 – 20:00 | 1 sequence | Signals the body to transition out of practice calmly |
How to Build a Seated Chair Tai Chi Exercise Routine: Sample Practice Schedules
A full seated tai chi session takes 15-20 minutes and works best 3-5 times a week. Even a few exercises daily beats one long weekly session, so consistency matters more than duration.
Once you’re doing the full routine, try Monday/Wednesday/Friday for the complete practice, Tuesday/Thursday for just the upper-body set, and weekends for rest or a light version. Until then, follow the shorter sets in the table below. Practice 3-5 days per week throughout.
| Week | Duration | Exercises |
|---|---|---|
| Weeks 1-2 | 10 min | Opening Form, Wave Hands Like Clouds, Repulse the Monkey, Single Whip, Closing Posture (5-8 slow, controlled reps each). Focus on form and breath sync before adding anything new. |
| Weeks 3-4 | 15 min | Beginner set plus White Crane Spreads Its Wings, Golden Rooster, Parting the Wild Horse’s Mane, and Playing the Lute. Builds balance and coordination. |
| Week 5 | 15-20 min | Intermediate set, gradually adding High Pat on Horse, Grasp the Sparrow’s Tail, Fair Lady Works the Shuttles, Archer Draws Bow, Separate Leg / Heel Kick, Needle at Sea Bottom, and Hold the Ball. |
| Week 6+ | 20 min | Full routine: all 16 exercises in sequence, Opening Form through Closing Posture. |
Opening the Tai Chi Form — Best for Beginners
Why It's Step 1: I start with this exercise because it establishes the foundational coordination pattern — slow arm rise paired with breath — that underlies all 16 exercises. Without mastering this pattern, the rest of the routine is harder to learn.
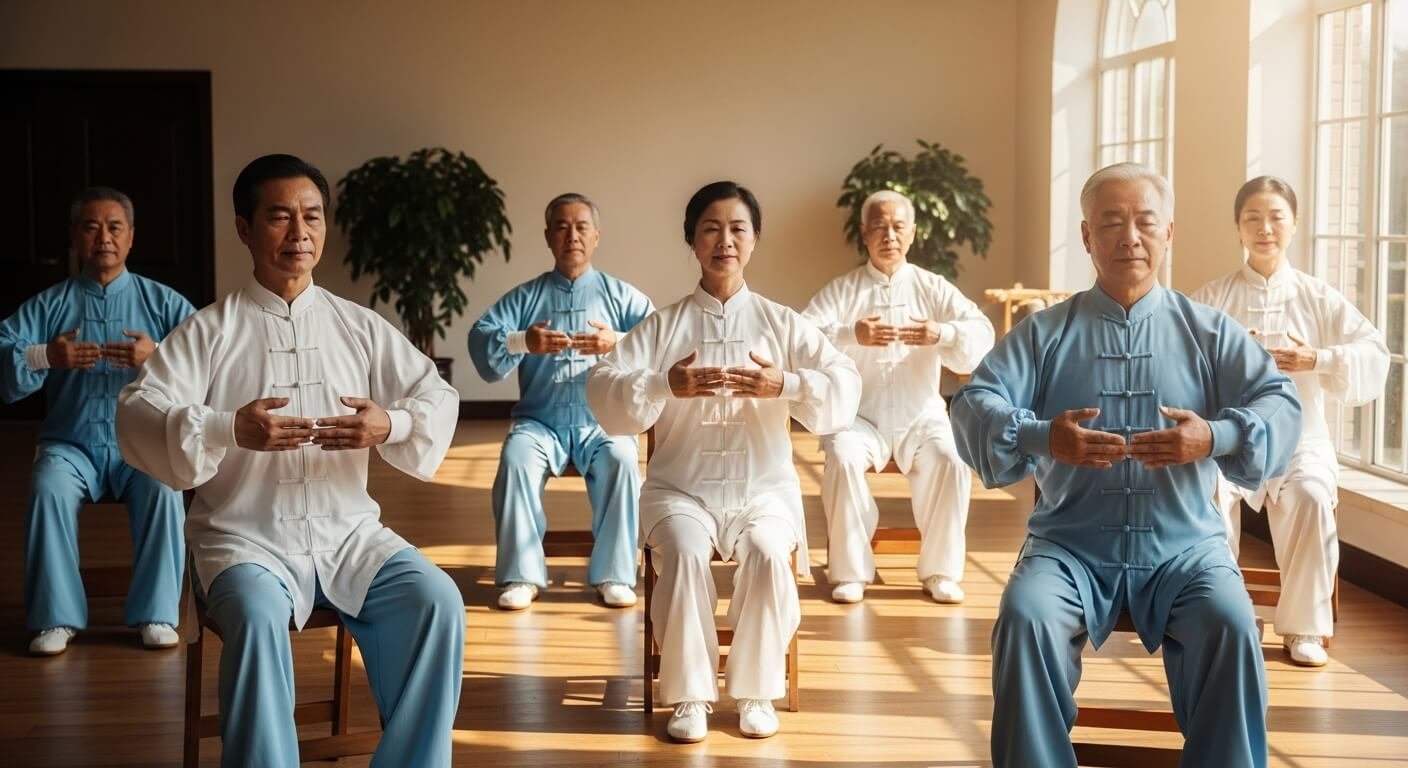
Benefits: Warms up the body, establishes posture, and builds breath awareness for the rest of the session.
Instructions:
- Sit tall with feet flat and hands resting on your thighs — inhale slowly through the nose for 4 counts.
- Raise both arms slowly out in front to shoulder height, palms down — continue the same inhale as arms rise.
- Hold briefly at the top for 2 counts, palms facing the floor, breathing naturally.
- Lower your arms slowly back to your thighs while you exhale for 4–5 counts.
- Repeat the full sequence 5–8 times, keeping shoulders relaxed throughout.
Wave Hands Like Clouds — Best for Stress Relief
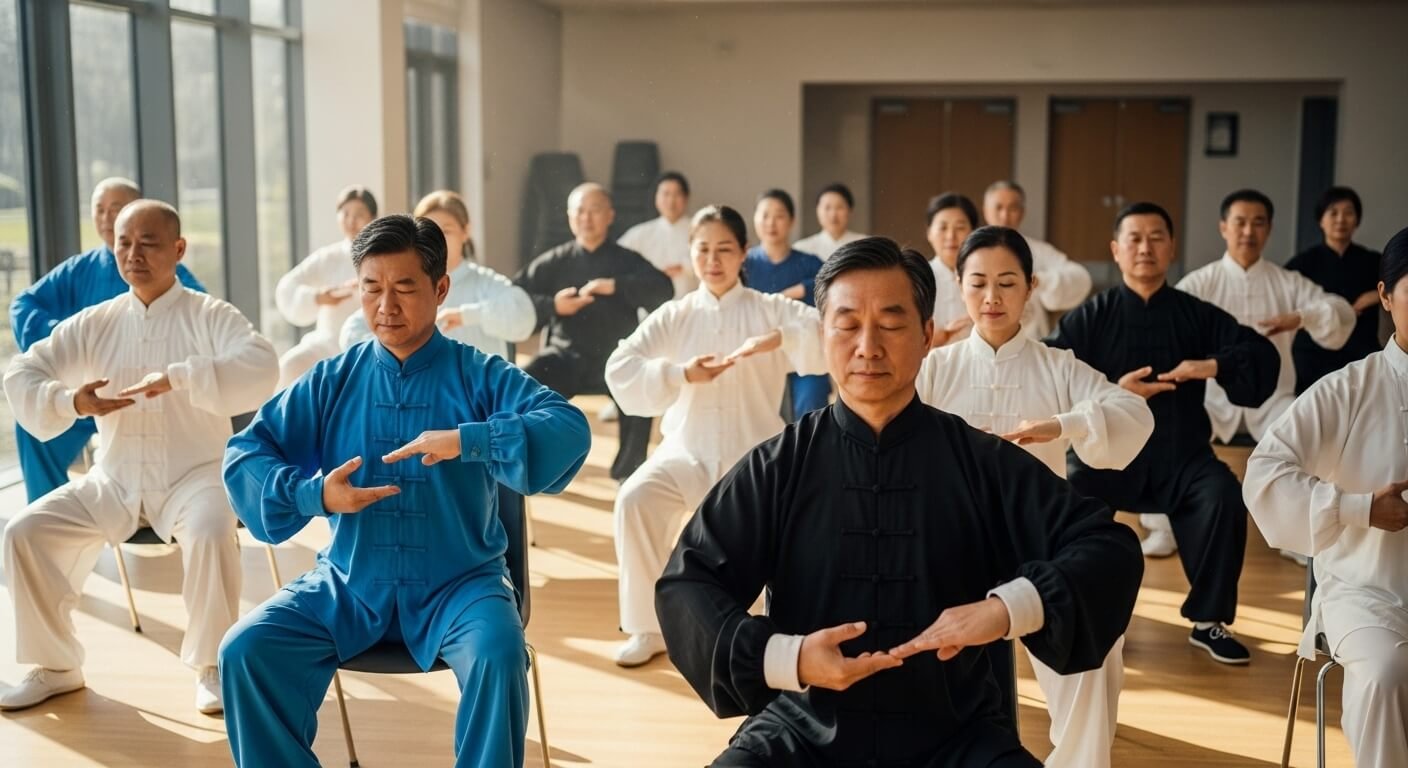
Why It's Step 2: I place this second because its continuous, circular motion mimics the natural rhythm of calm breathing, helping the body settle into a relaxed, steady rhythm early in the session. It's also a good move to return to on its own when you want stress relief.
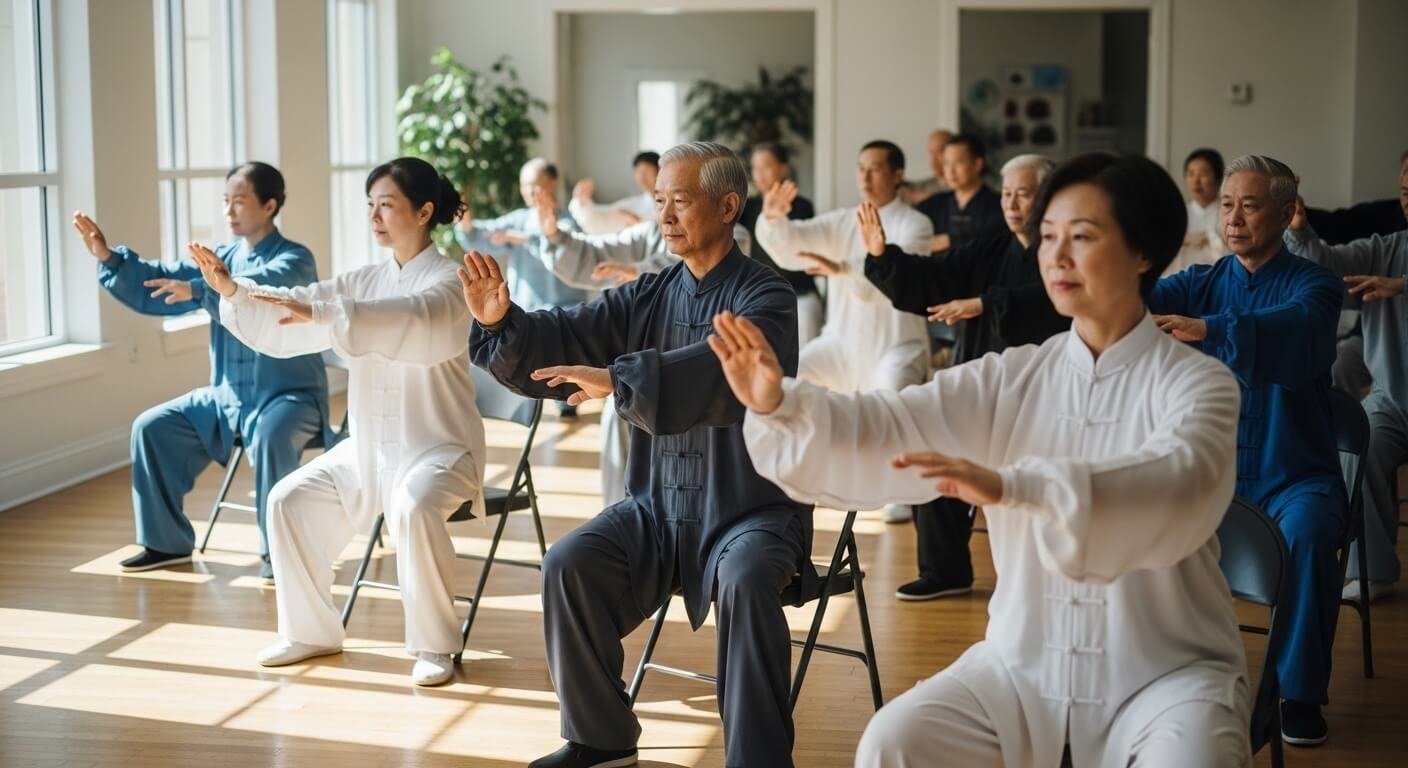
Benefits: May help reduce stress, improves torso mobility, and encourages a mindful, meditative focus.
Instructions:
- Sit tall, raise both hands to chest height, palms facing your body.
- Inhale for 4 counts as you slowly turn your torso and arms to the left, one palm rising and one lowering as if stirring clouds.
- Exhale for 4 counts as you rotate back through center without pausing and turn to the right, letting your palms swap heights.
- Continue alternating sides — inhale turning left, exhale turning right — for 8–10 full cycles (one left turn plus one right turn is one cycle), keeping the motion smooth and unbroken.
Repulse the Monkey — Best for Upper-Body Tension
Why It's Step 3: I place this third because its backward-circling arm motion releases the shoulders and upper back, loosening the upper body early in the routine while the intensity is still gentle.
Benefits: Releases upper-body and shoulder tension and opens the chest as the arms circle back.
Instructions:
- Sit tall toward the front edge of your chair, left hand extended forward at chest height, palm up, and right hand resting palm-up near your right hip.
- Inhale for 4 counts as you circle your right hand back and up, palm turning upward, until it is beside your right ear, while your left hand stays extended in front.
- Exhale for 4 counts as you push the right hand forward from your ear to chest height, palm facing forward, while your left hand draws back to your left hip, palm up.
- Pause briefly with the pushing hand extended, breathing naturally.
- Repeat on the opposite side, alternating for 6–8 total repetitions.
Single Whip — Best for Posture
Why It's Step 4: I place this fourth because it opens the chest and squares the shoulders after the first few warm-up moves, which makes the deeper breathing and wider arm movements that follow easier.
Benefits: Opens the chest, stretches across the shoulders and wrists, and echoes the open-arm posture of the standing form.
Instructions:
- Sit tall with hands together in front of your abdomen, fingertips loosely touching as if holding a small hook.
- Inhale for 4 counts as you sweep both hands up and out to the right, turning your torso slightly, right hand forming a hooked "beak" shape.
- Continue the same inhale as you extend the left arm out to the left at shoulder height, palm facing out, opening the chest fully.
- Hold the open position for 2 counts, feeling the stretch across the chest and shoulders, and breathe naturally.
- Exhale for 4 counts as you release both arms back to center, then repeat on the opposite side, alternating for 6–8 total repetitions.
White Crane Spreads Its Wings — Best for Coordination
Why It's Step 5: I place this fifth because it's the first exercise where your arms move in opposite directions at the same moment, one rising while the other presses down, which is a step up in coordination from the moves before it.
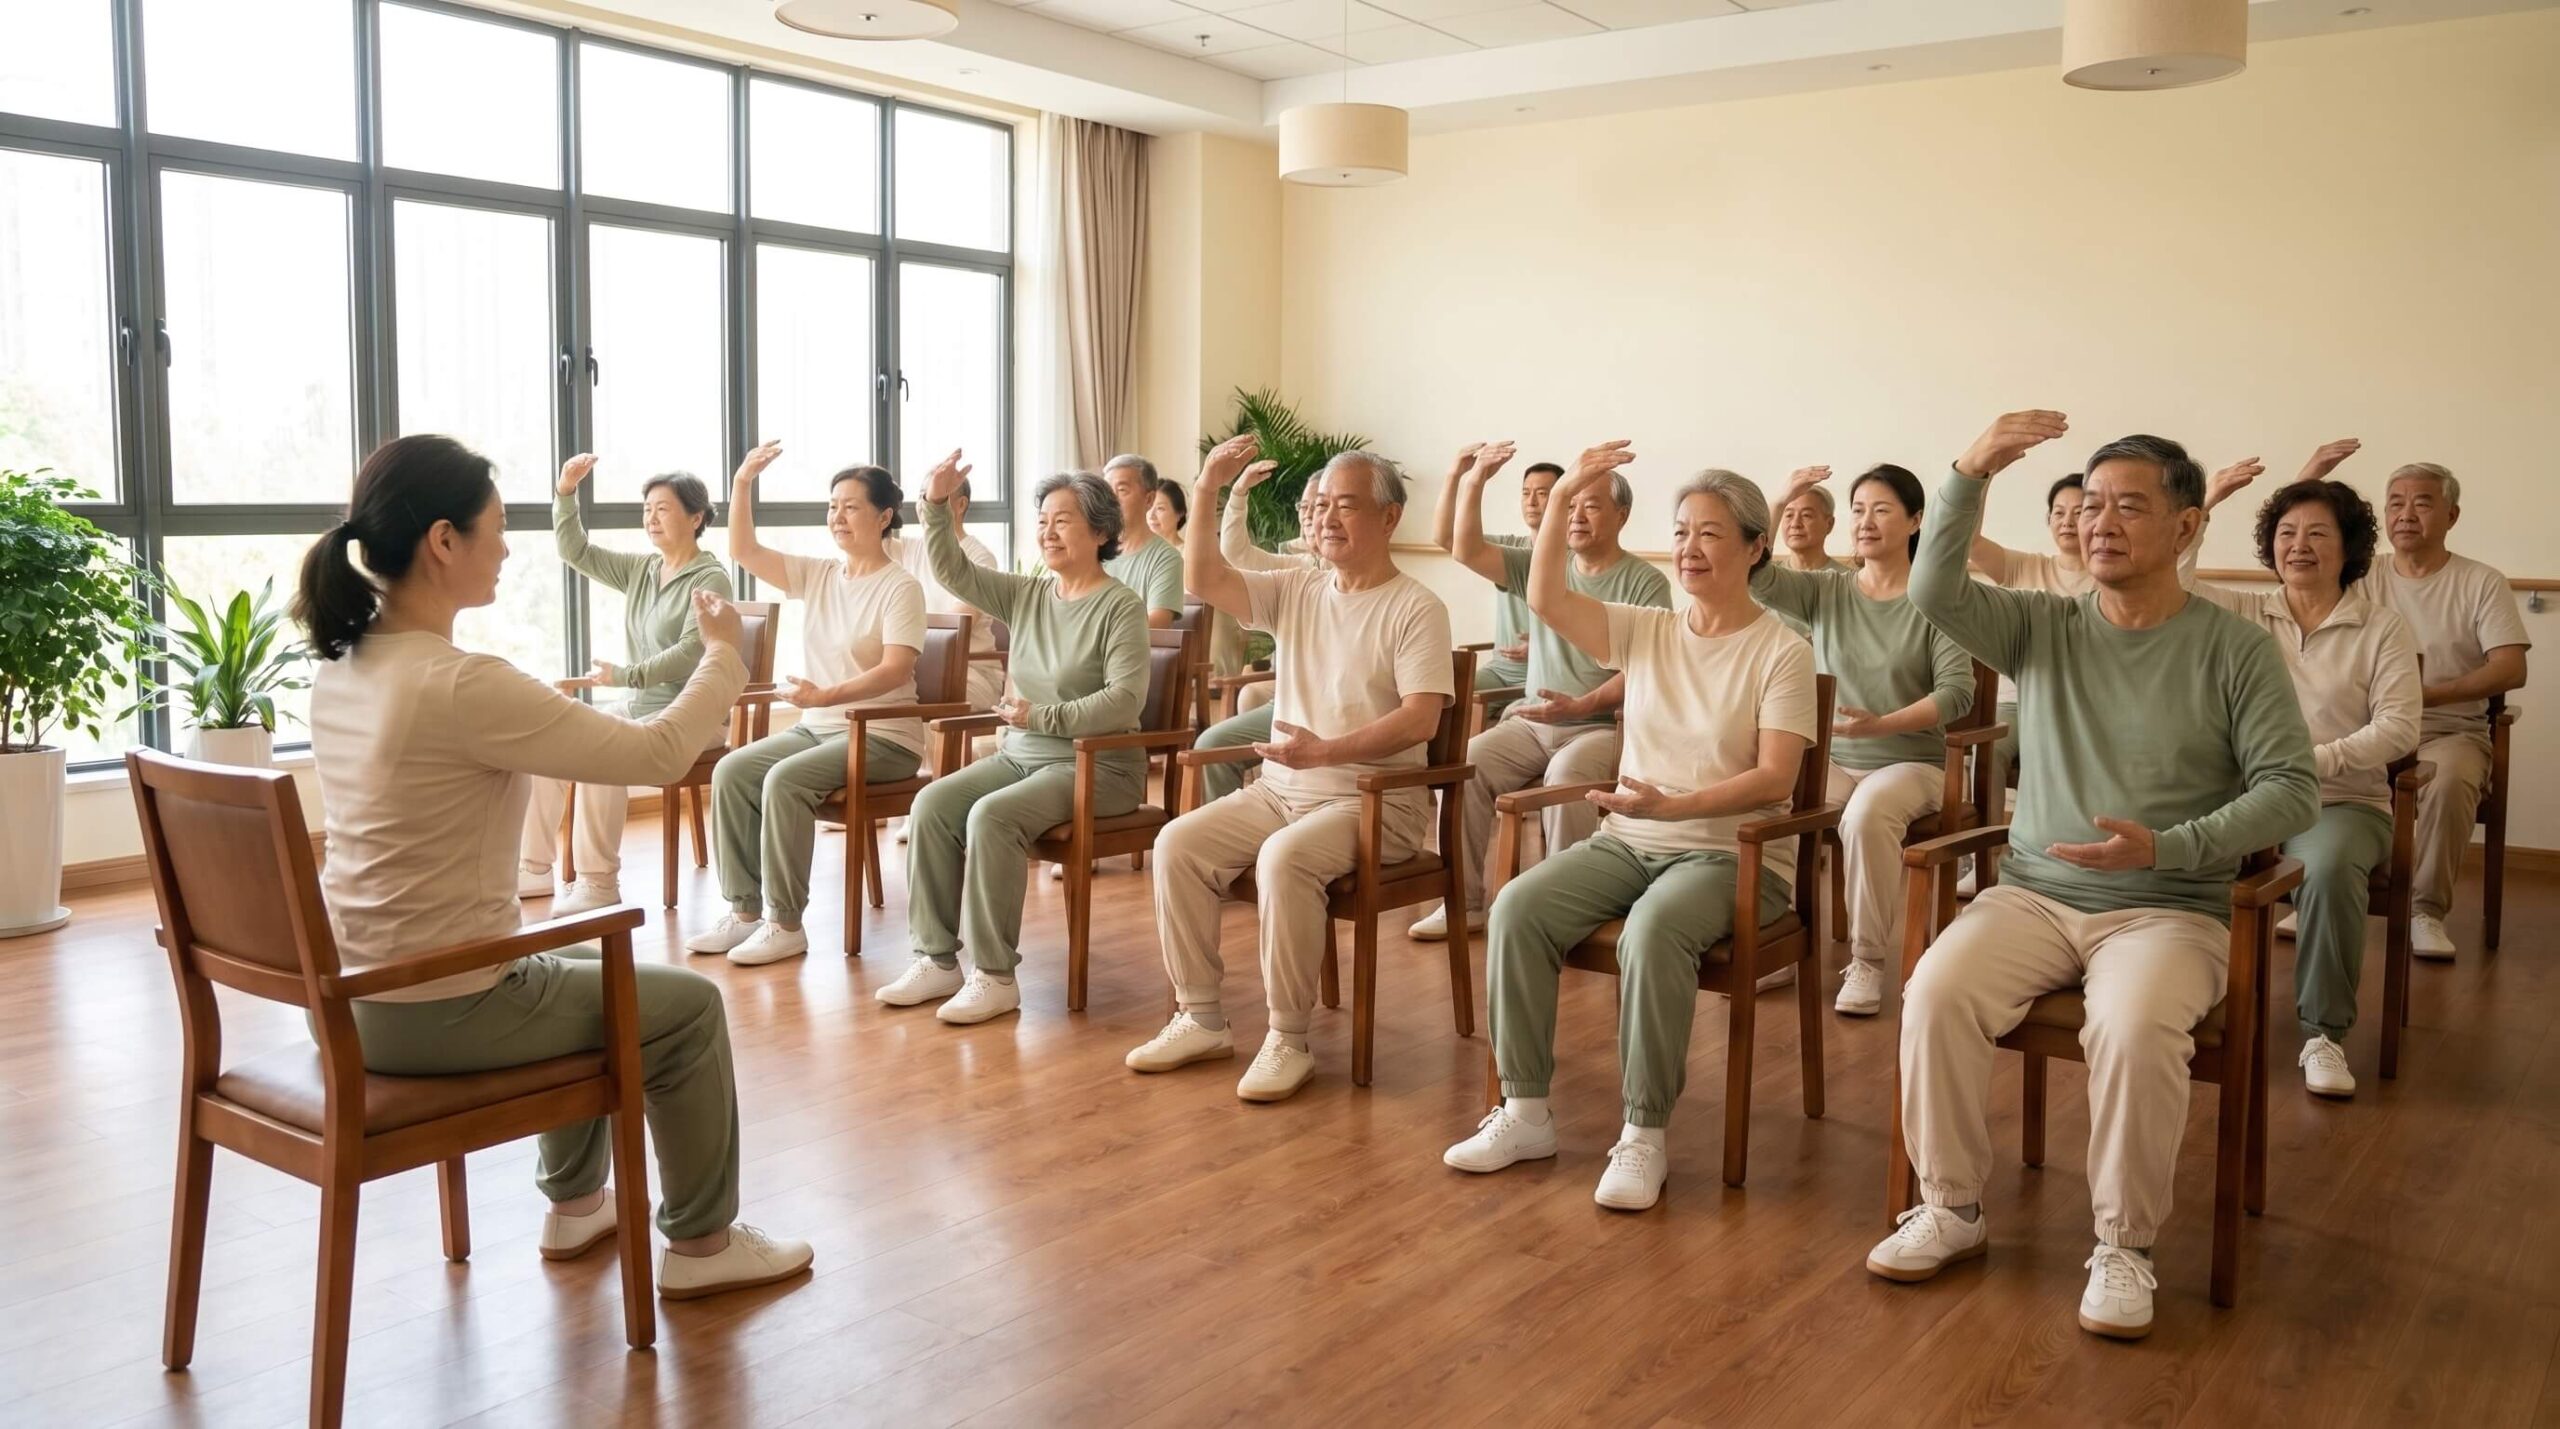
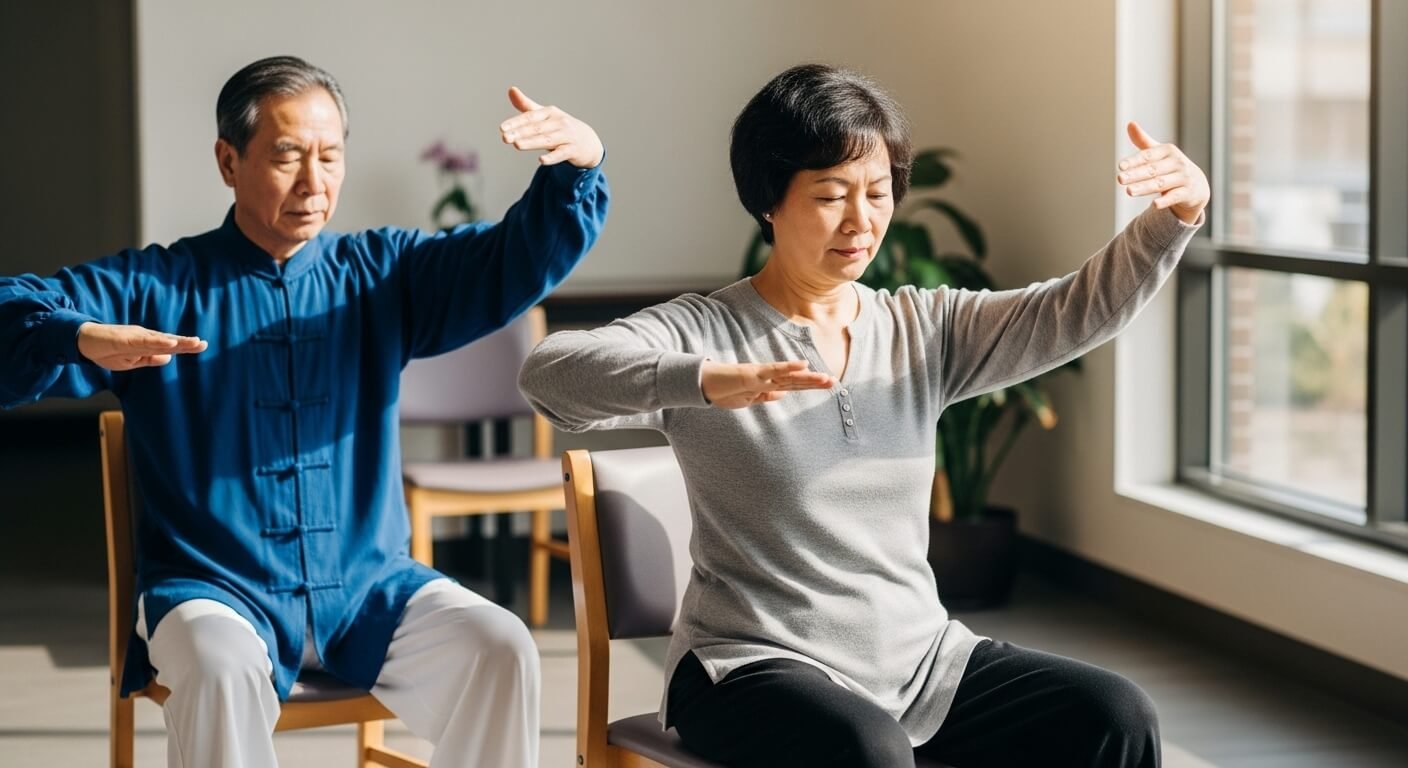
Benefits: Improves right-left coordination, sharpens body awareness, and stabilizes the shoulders.
Instructions:
- Sit tall with hands resting near your hips, palms facing up.
- Inhale for 4 counts as you raise your right arm overhead like a wing while your left hand presses gently down toward the floor.
- Hold for 1–2 counts at full extension, breathing naturally.
- Exhale for 4 counts as you lower the right arm and return both hands to your hips.
- Repeat with the left arm rising and the right hand pressing down. One right side plus one left side is one cycle; do 6–8 full cycles.
Golden Rooster Stands on One Leg (Seated) — Best for Balance
Why It's Step 6: I place this sixth, after the coordination-building exercises, because balance work is easier once the body already has some cross-body control established.
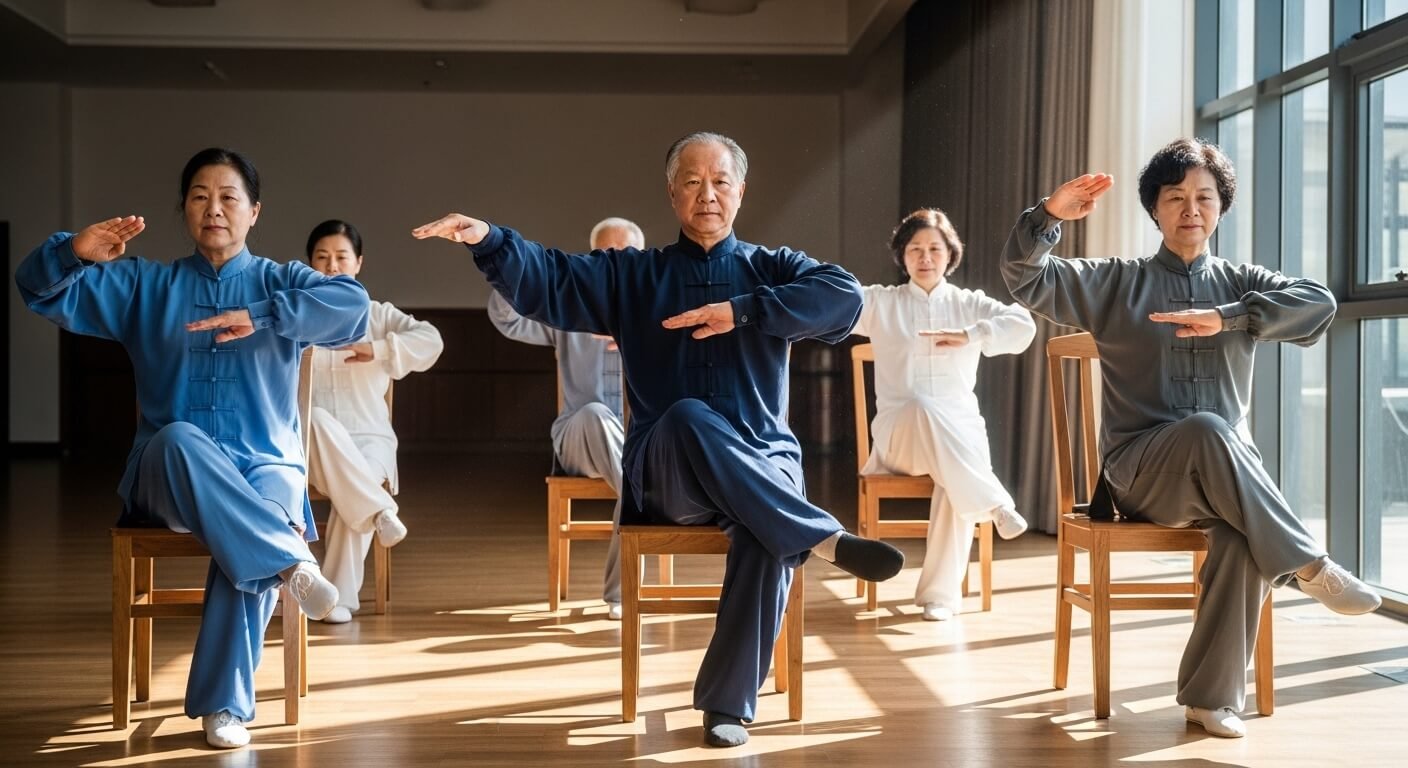
Benefits: Strengthens hip and core stabilizers responsible for preventing falls and improves single-leg balance.
Instructions:
- Sit tall with hands resting lightly on your thighs or the chair seat. If lifting an arm feels unsteady, keep both hands on the seat.
- Inhale for 3 counts as you slowly lift your right knee toward your chest, keeping your back straight, while your right hand lifts in front of you to chest height and your left hand presses gently down beside your hip.
- Hold the lifted position for 2–3 counts, breathing normally.
- Exhale for 3 counts as you lower the foot back to the floor with control and return your hands to your thighs.
- Repeat 5–6 times per leg, alternating sides.
Parting the Wild Horse's Mane — Best for Diagonal Coordination
Why It's Step 7: I place this seventh because it builds on the diagonal arm patterns from White Crane by adding a gentle torso turn, linking arm and core movement in a single flowing motion.
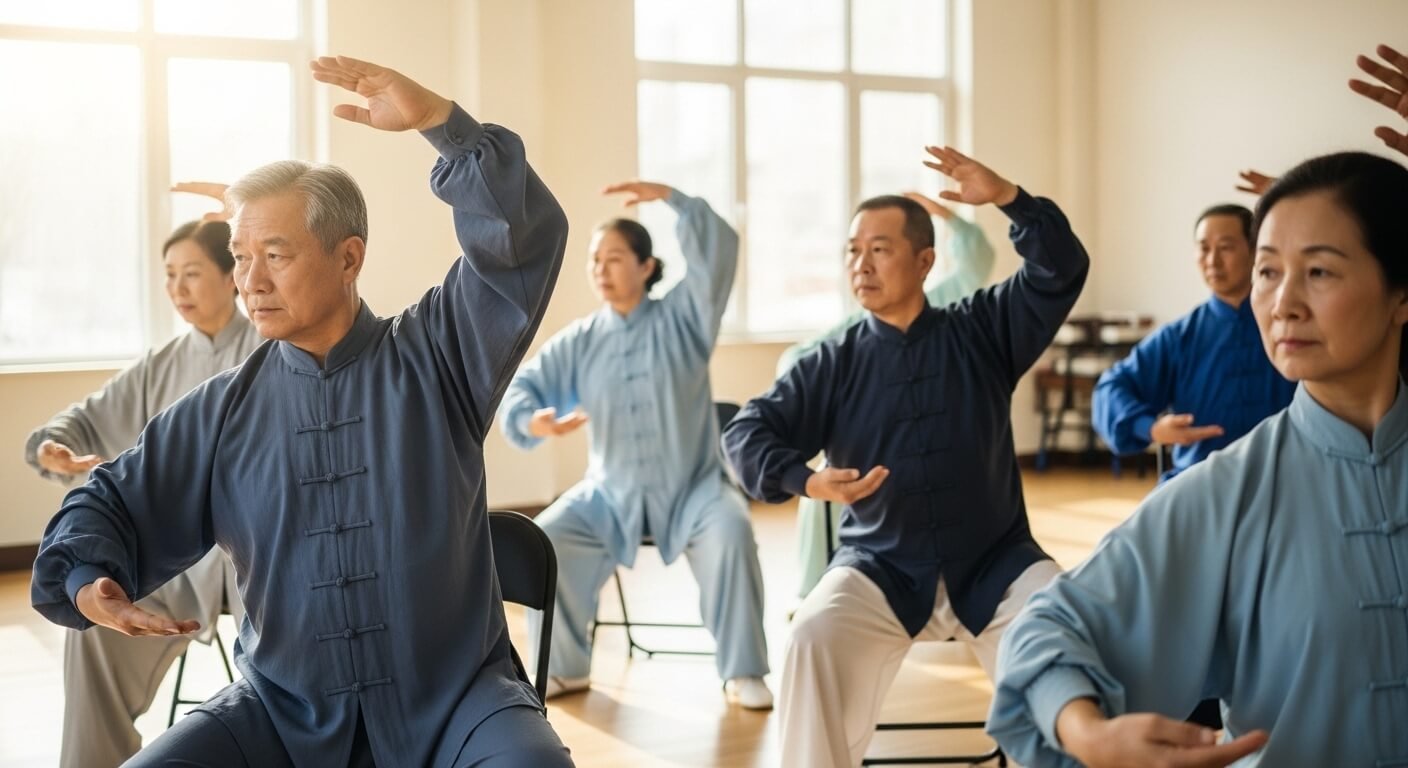
Benefits: Builds arm-and-torso coordination and improves diagonal movement patterns used in daily life.
Instructions:
- Sit tall with hands together in front of your chest, one palm up and one palm down.
- Inhale for 4 counts as you slowly separate your hands, sweeping one up and diagonally out while the other sweeps down and out, turning your torso slightly.
- Hold the extended position briefly, breathing naturally.
- Exhale for 4 counts as you return your hands to center.
- Repeat on the opposite diagonal, alternating for 6–8 total repetitions.
Fair Lady Works the Shuttles — Best for Reaching and Turning
Why It's Step 8: I place this eighth, right after Parting the Wild Horse's Mane, because both moves train diagonal reaching and torso rotation. Placing them back to back lets the body build on the same movement pattern before shifting into the more strength-focused postures that follow.
Benefits: Builds diagonal coordination between the arms and torso, stretches the shoulders through a rotating lift, and reinforces the turning patterns used in daily reaching tasks.
Instructions:
- Sit tall with both hands held in front of your chest, one above the other as if holding a small ball.
- Inhale for 4 counts as you turn your torso to the right, lifting your right hand up and out beside your head, palm facing outward, while your left hand pushes forward at chest height, palm facing out.
- Hold the extended position for 1–2 counts, breathing naturally.
- Exhale for 4 counts as you lower the right hand and return both hands to center.
- Repeat on the opposite side, alternating for 6–8 total repetitions.
High Pat on Horse — Best for Arm Strength
Why It's Step 9: I place this ninth because it's the first movement in the sequence that emphasizes pressing work, best introduced once the joints are fully warmed and mobile from the preceding exercises.
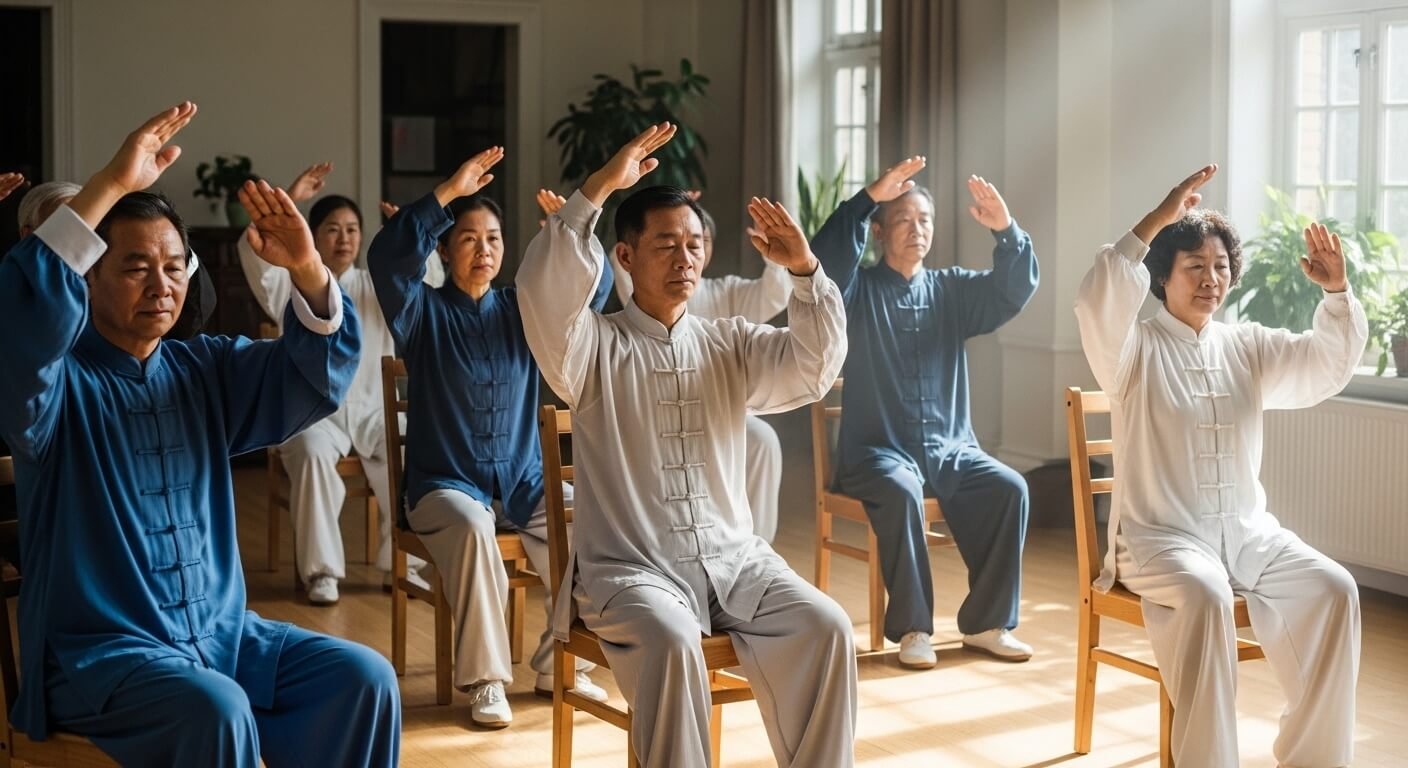
Benefits: Gently works the arms and shoulders and builds endurance for pushing movements.
Instructions:
- Sit tall with one hand resting palm-up near your waist and the other palm-down in front of your chest.
- Inhale for 3 counts to prepare, engaging your core.
- Exhale for 4 counts as you press the front hand forward and slightly downward, as if patting a horse, extending the arm fully.
- Inhale for 3 counts as you draw the hand back to your chest.
- Repeat 6–8 times, then switch hands.
Grasp the Sparrow's Tail — Best for Core Engagement
Why It's Step 10: I place this tenth because its rotational demand on the trunk makes it more physically challenging than the earlier moves, so it comes once the body has warmed up through the exercises before it.
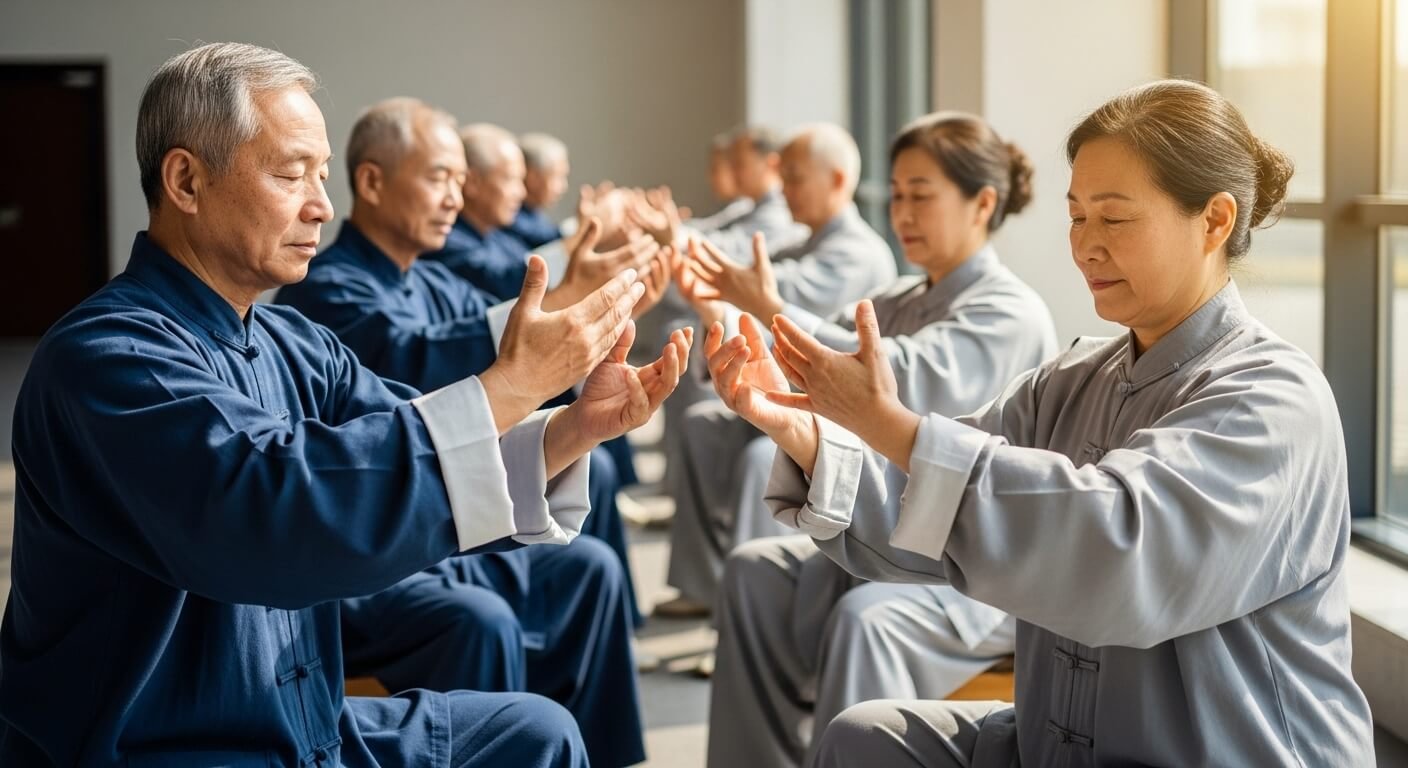
Benefits: Engages the deep core and obliques and supports rotational stability.
Note: This is a simplified, single-motion version of the traditional four-part sequence (Ward-off, Roll-back, Press, Push).
Instructions:
- Sit tall with both hands in front of your abdomen, as if holding a small ball.
- Inhale for 4 counts as you rotate your torso to the right, extending your right hand forward and drawing your left hand back toward your hip.
- Pause briefly at full rotation, breathing naturally.
- Exhale for 4 counts as you return to center.
- Repeat on the left side, alternating for 6–8 total repetitions.
Playing the Lute — Best for Wrist and Hand Mobility
Why It's Step 11: I place this eleventh, positioning it after the larger strength and core work, as a deliberate shift toward movements that focus on the wrists and hands, which the larger arm movements don't address.
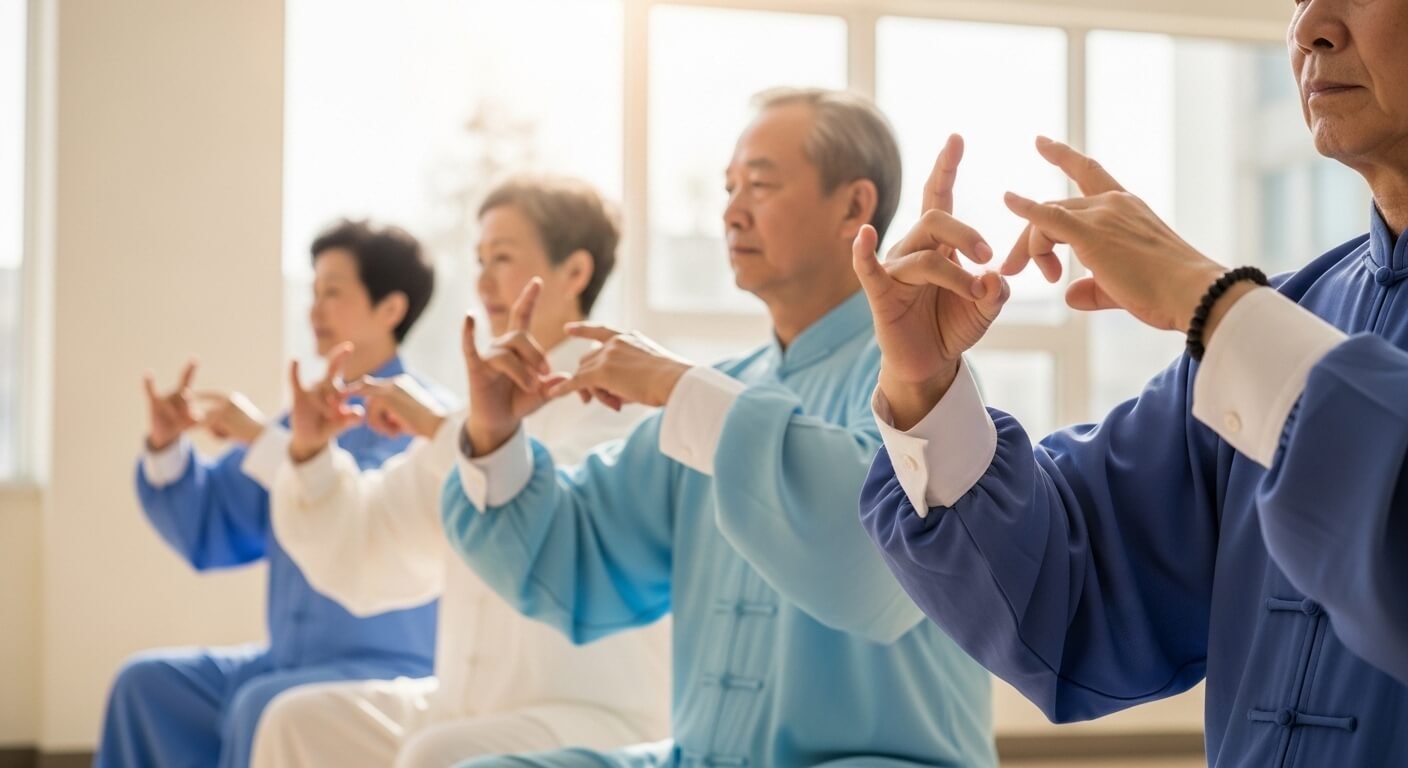
Benefits: Improves wrist and hand mobility and supports fine motor skills for daily tasks.
Note: This is a gentle adaptation of the traditional held posture, adding a small drawing-back motion.
Instructions:
- Sit tall and extend your right arm forward at chest height, elbow softly bent, palm facing inward, as if holding a lute. Place your left hand lightly near your right elbow, palm facing your forearm.
- Inhale for 3 counts as you gently draw the extended hand back toward your chest while rotating the wrist, with your supporting hand following.
- Exhale for 3 counts as you extend the arm back out, rotating the wrist the opposite way.
- Repeat 8–10 times, then switch arms (extend the left arm, with your right hand supporting near the left elbow).
- Finish with 5 slow circles of each wrist in both directions, breathing naturally.
Archer Draws Bow — Best for Shoulder Mobility
Why It's Step 12: I place this twelfth because the bow-drawing motion takes the shoulder through a wide range of motion in a single repetition, which is more appropriate once the shoulders are fully warmed up.
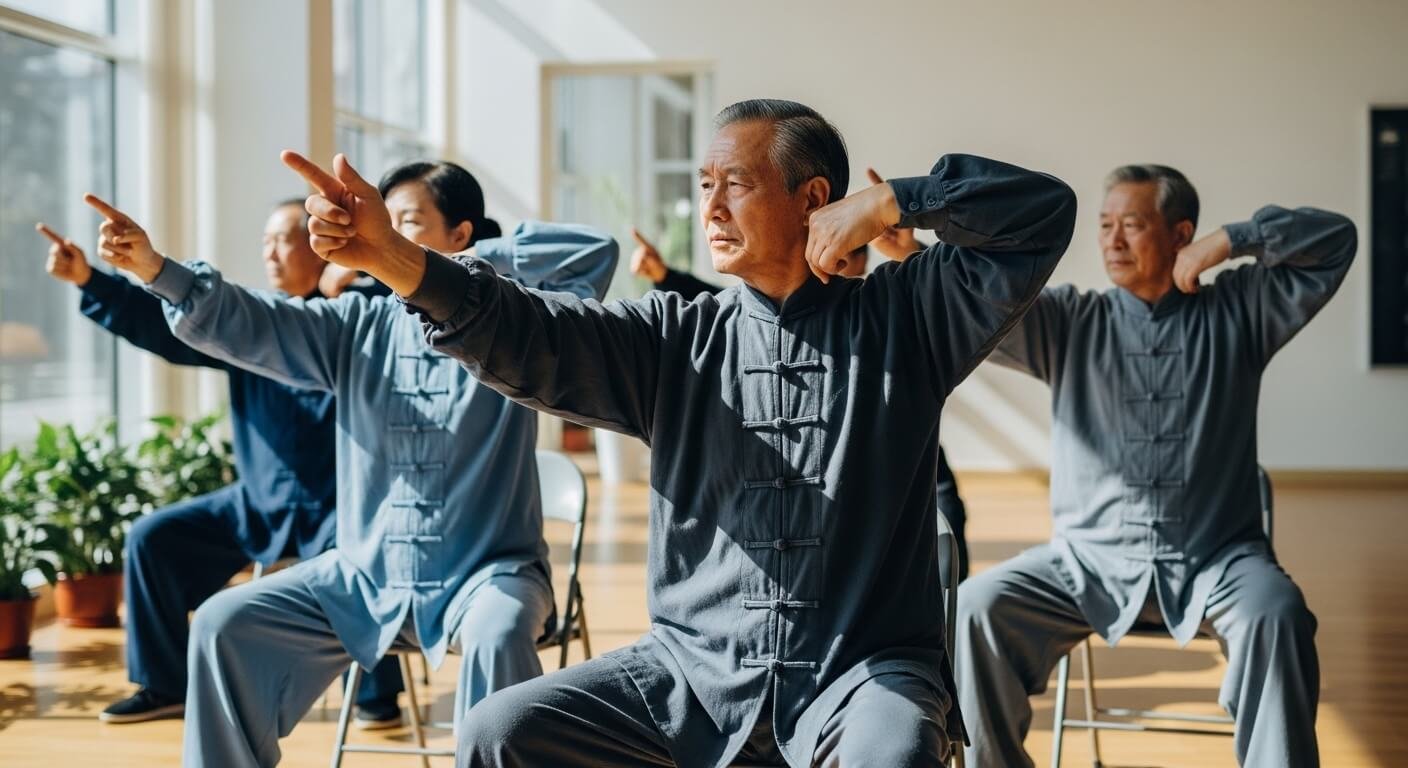
Benefits: Expands shoulder range of motion and strengthens the upper back.
Instructions:
- Sit tall and bring both hands together in front of your chest, as if gripping a bow.
- Inhale for 4 counts as you extend your left arm straight out to the side while pulling your right elbow back, as if drawing a bowstring.
- Hold the drawn position for 2 counts, breathing naturally.
- Exhale for 4 counts as you release back to center.
- Repeat on the opposite side, alternating for 6–8 total repetitions.
Separate Leg / Heel Kick (Seated) — Best for Leg Strength
Why It's Step 13: I place this thirteenth because it's the most demanding lower-body movement in the set, so it comes after the upper-body and core work, when you're warmed up but still have energy for the legs.
Benefits: Strengthens the quadriceps and hip flexors and builds the controlled extension used in the traditional kicking postures.
Safety note: If you feel unsteady, skip the arm opening and hold the sides of the seat with both hands.
Instructions:
- Sit tall a few inches back from the front edge of the chair, with your back close to the backrest and your wrists crossed in front of your chest.
- Inhale for 3 counts as you draw your right knee up toward your chest.
- Continue the inhale as you extend the lower leg forward until the leg is as straight as comfortably possible, flexing the foot as if delivering a gentle heel kick, while your arms open out to the sides at shoulder height, palms facing out.
- Hold briefly for 1–2 counts, breathing naturally.
- Exhale for 3 counts as you bend the knee and lower the foot back to the floor with control and bring your wrists back to cross in front of your chest. Repeat 6–8 times per leg, alternating sides.
Needle at Sea Bottom — Best for Flexibility
Why It's Step 14: I place this fourteenth, near the end of the routine, because the forward-reaching motion provides the deepest stretch in the routine, making it best suited for later in a session once the muscles are fully warmed.
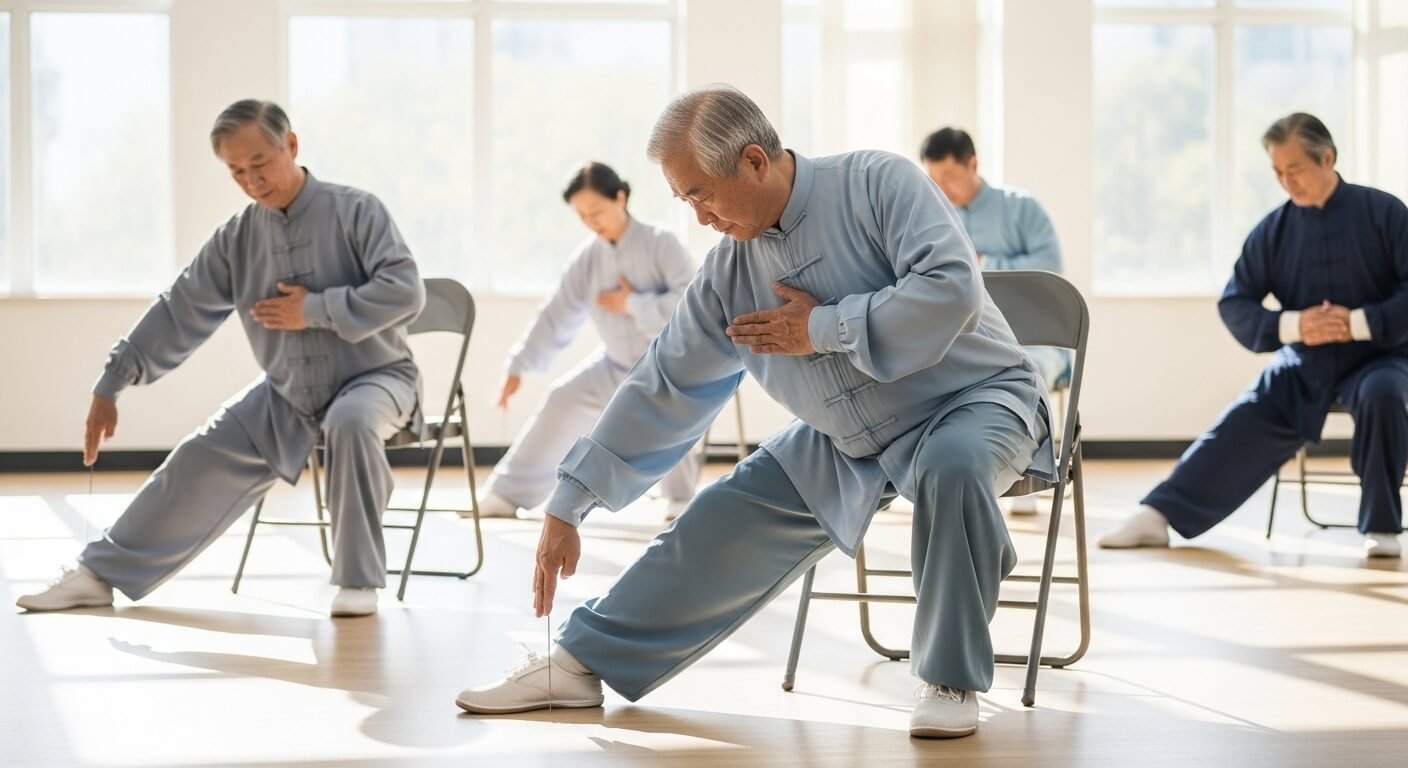
Benefits: Increases spinal and hamstring flexibility and may ease lower back tension.
Safety note: Fold only as far as is comfortable, and rise slowly to avoid lightheadedness. Skip or modify this move (for example, by lowering your hand only to your knee) if you have dizziness or low blood pressure, osteoporosis, a hip replacement or hip precautions, or glaucoma, and check with your doctor first.
Instructions:
- Sit tall with feet flat and hands resting on your thighs.
- Inhale for 3 counts as you raise one arm overhead, lengthening your spine.
- Exhale for 4–5 counts as you slowly fold forward from the hips only as far as is comfortable, lowering the raised arm toward the floor between your feet.
- Hold the gentle stretch for 2–3 breaths, breathing evenly.
- Inhale as you slowly roll back up to sitting tall. Repeat 3–4 times in total, alternating arms.
Hold the Ball — Best for Relaxation
Why It's Step 15: I place this fifteenth, second to last, because this posture is designed to settle the nervous system and center attention on the breath, serving as the ideal bridge between active practice and the final closing posture.
Benefits: Calms the nervous system, centers attention on the breath and lower abdomen, and prepares the body for closing posture.
Instructions:
- Sit tall with arms rounded in front of your abdomen, as if gently cradling a large ball, palms facing your body.
- Inhale for 5 counts, imagining your breath filling the space between your hands.
- Exhale slowly for 5–6 counts as you let your hands settle slightly lower, toward your lap.
- Repeat for 4 slow breath cycles, keeping shoulders relaxed and the "ball" shape soft rather than rigid.
- Rest here for 2–3 natural breaths before moving into the closing posture.
Closing Posture — Best for Winding Down
Why It Comes Last: I place this last by design. Every seated tai chi routine should end with a deliberate closing movement that consolidates the calm built throughout the practice rather than ending abruptly.
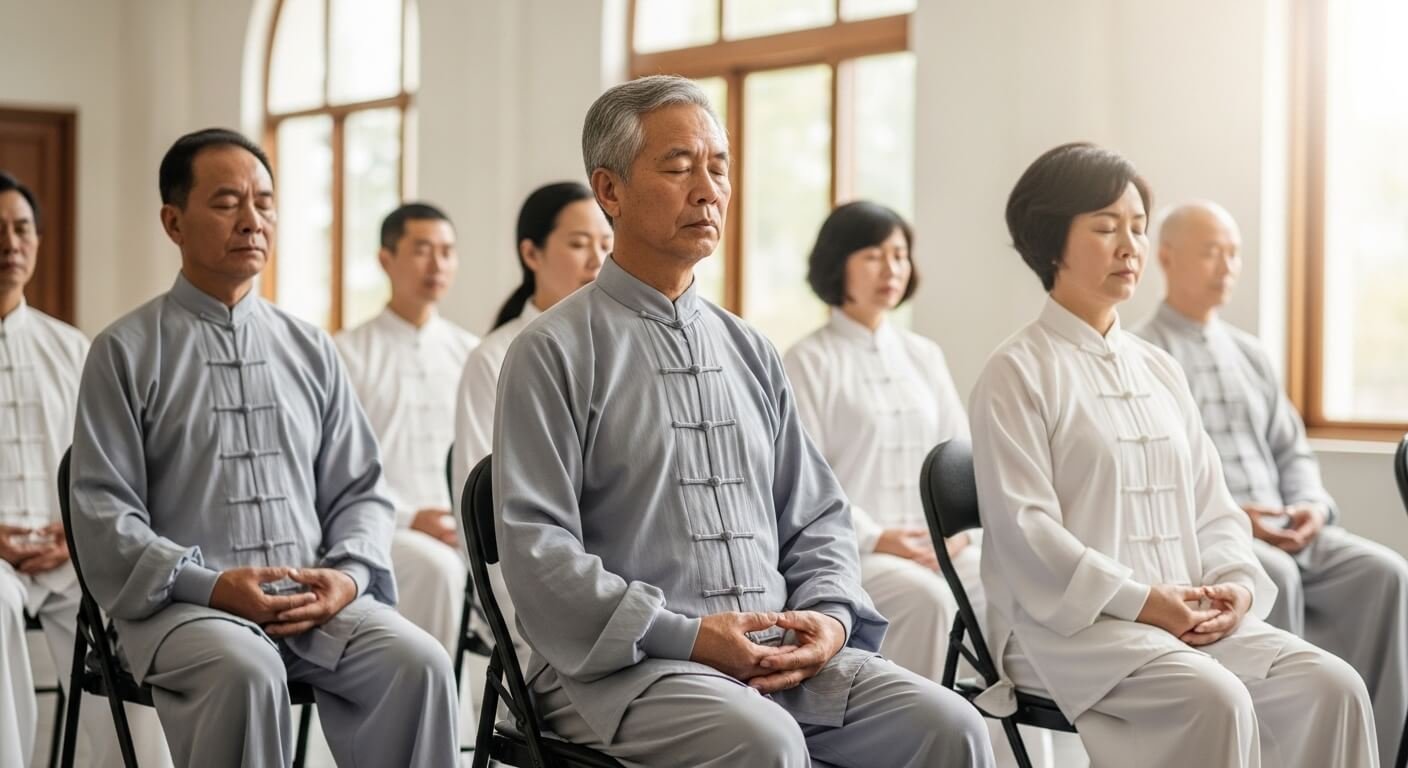
Benefits: Integrates the practice session, grounds the body and mind, and lowers residual tension.
Instructions:
- Sit tall with hands resting palms-down on your thighs. Close your eyes or soften your gaze.
- Inhale for 4 counts as you bring your awareness to your breath and posture.
- Exhale for 5 counts as you consciously relax your shoulders, jaw, and hands.
- Rest both hands gently over your lower abdomen and take 3 natural breaths, noticing how your body feels.
- Open your eyes (if closed) and slowly return your attention to the room around you.