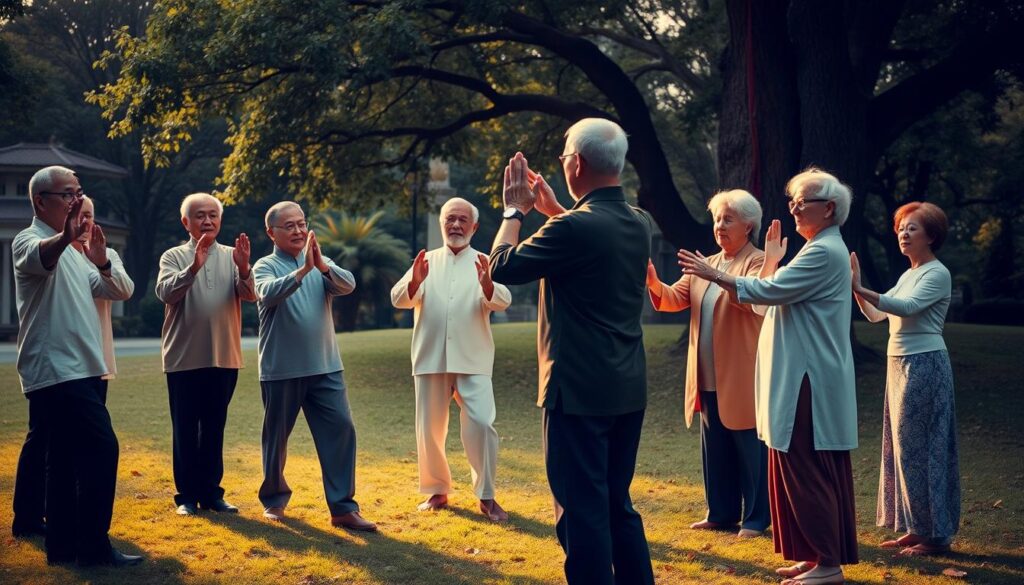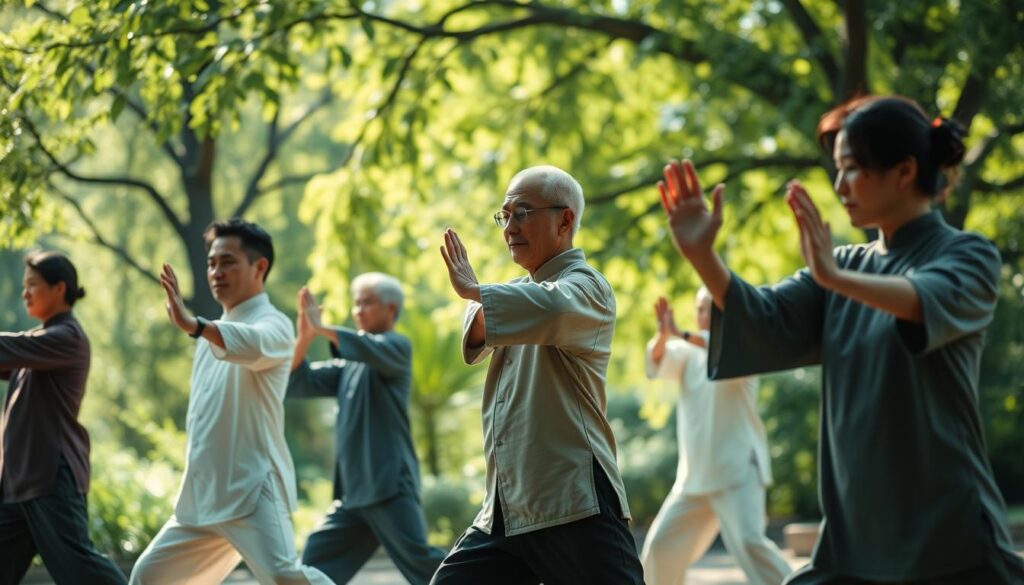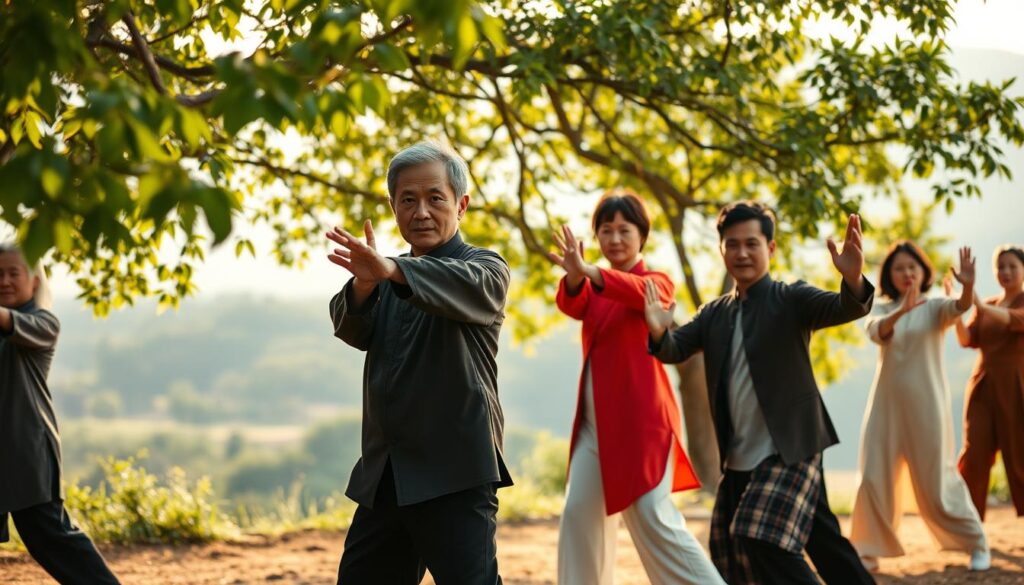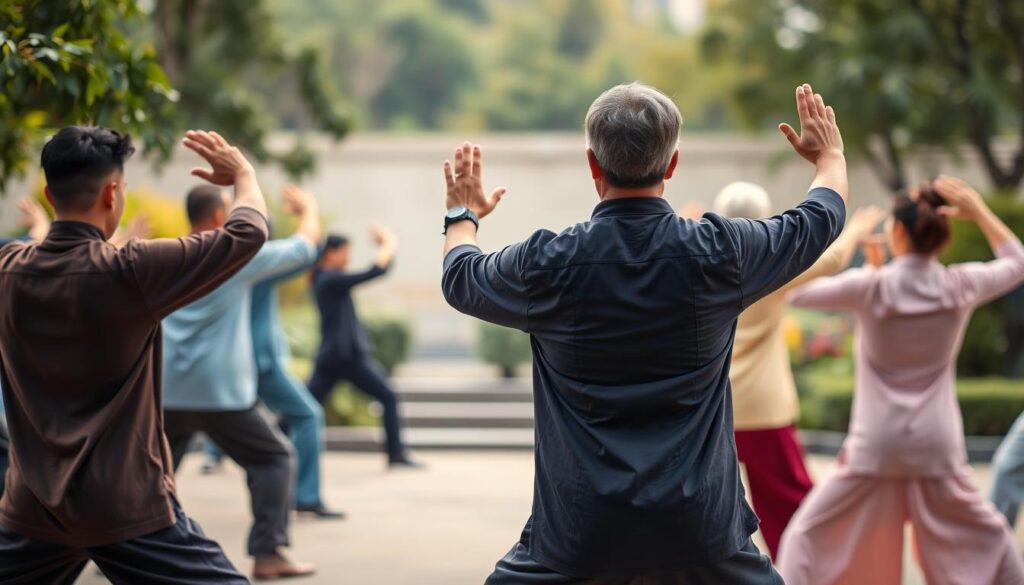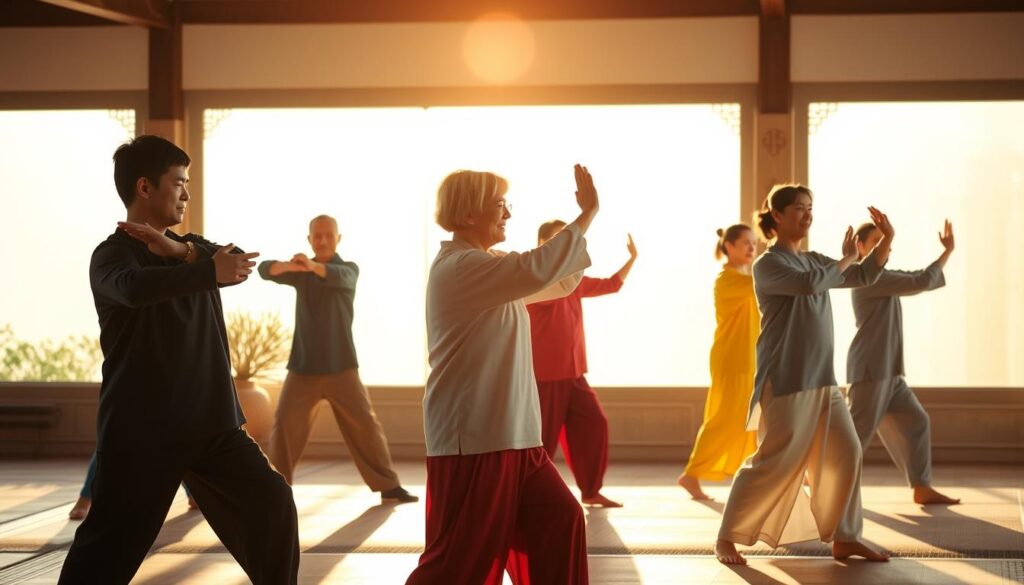
Harvard Health’s article “The health benefits of tai chi” explains why tai chi exercises suit seniors: slow, low-impact, flowing movements improve balance, flexibility, strength, and brain health while reducing fall risk, joint pain, and stress.
Its circular movements keep joints out of their extreme ranges, muscles relaxed, and connective tissue unstrained, while deep, natural breathing promotes relaxation and reduces inflammation.
Below are 15 standing tai chi exercises from the slow, flowing simplified 24-form Yang style, in a recommended practice order, a routine plan, and seated chair tai chi variations for elderly adults with mobility issues.
Health Benefits of Tai Chi Exercises for Seniors
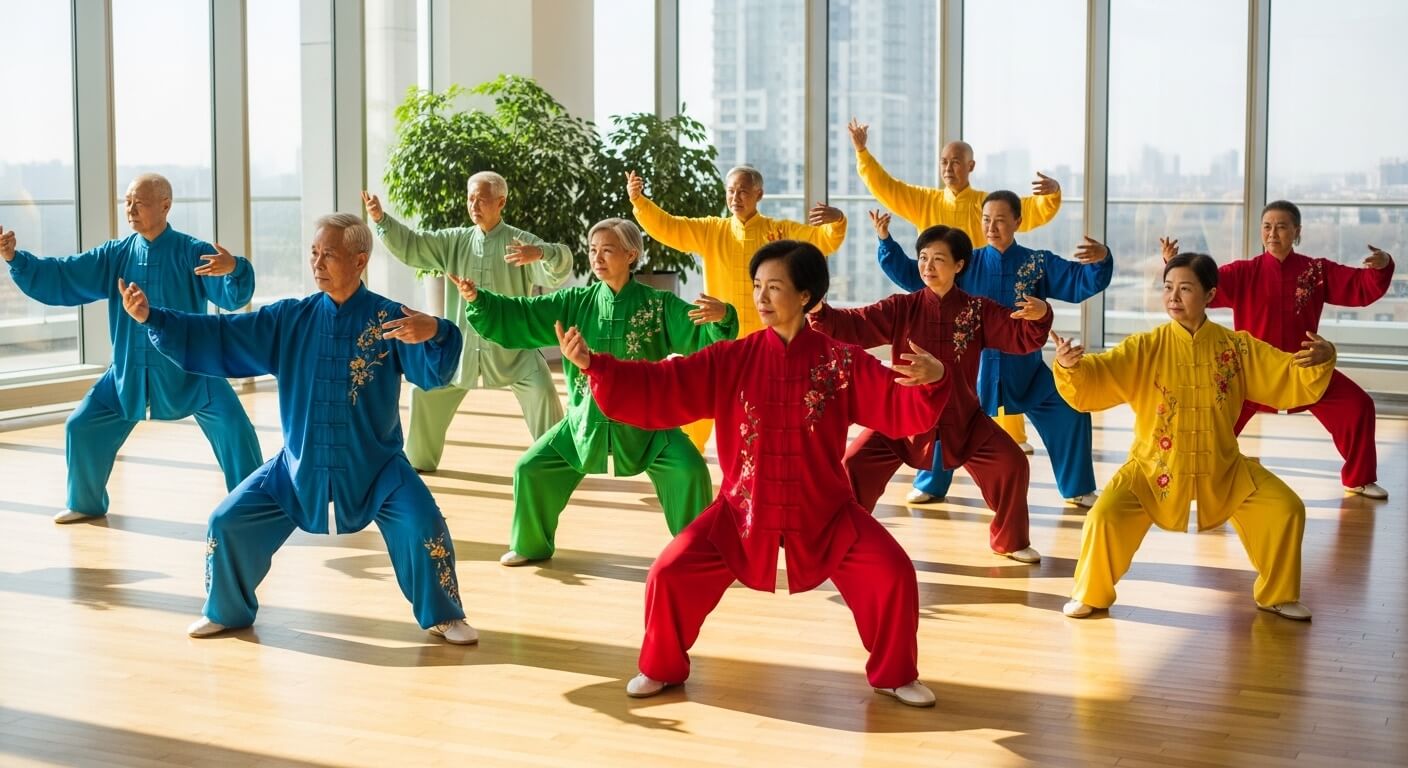
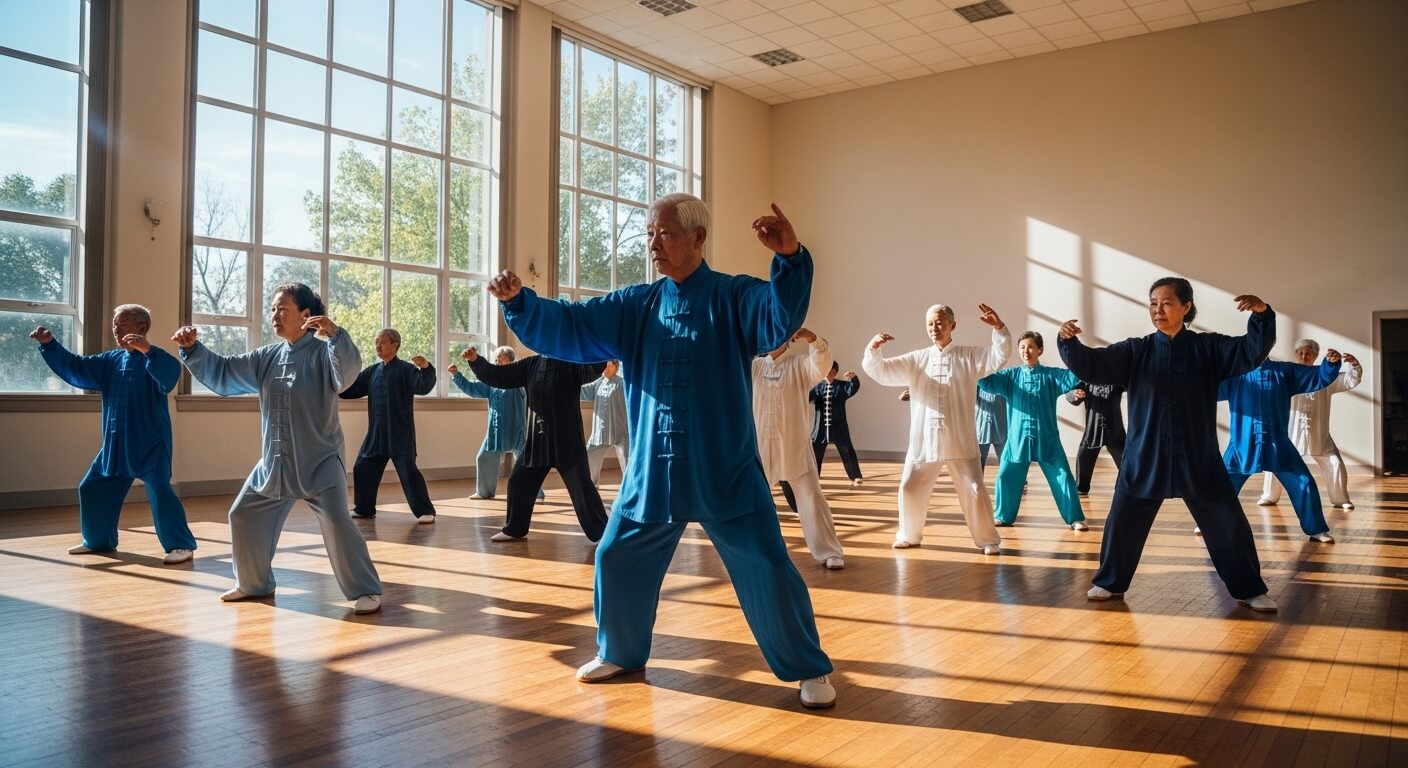
Tai chi originated in ancient China as a martial art emphasizing controlled movement and inner balance. Modern adaptations such as chair tai chi from a seated position have transformed it into a therapeutic mind-body exercise that’s particularly beneficial for older adults.
Physical Benefits
Balance and fall prevention: Both standing and chair tai chi can strengthen the legs and improves proprioception (your body’s sense of position in space). Seniors practicing tai chi exercises twice weekly can substantially reduce their rate of falls, as the studies below show.
1. Journal of the American Geriatrics Society – Tai chi practice reduced the rate of falls in seniors by 43% after less than 12 months and by 13% after more than 12 months.
2. JAMA Internal Medicine (2018) – Tai chi reduced falls in older adults at high risk by 58% compared to traditional stretching exercises.
3. Analysis of 28 randomized controlled trials (Web of Science, PubMed, Cochrane Central, EBSCO) – Significant improvements in balance for seniors who practiced tai chi for 45 minutes twice a week for about 12 weeks.
Reduces joint pain – The gentle compression and movement during standing and chair tai chi exercises stimulate synovial fluid production, which acts as a natural joint lubricant, reducing friction and pain. Arthritis patients report 30-40% less pain after three months of tai chi practice.
Improves joint stability – These exercises will also strengthen the muscles that support the joints which provides better joint stability.
Muscle strength: Despite appearing gentle, tai chi builds lower body strength through the sustained muscle engagement of the bent-knee stance.
Cardiovascular health: A 30-minute tai chi session raises heart rate to 50-60% of maximum capacity, providing moderate aerobic exercise that lowers blood pressure by an average of 7-10 points.
Mental and Cognitive Benefits
Better cognitive function: Seniors practicing tai chi show improved executive function, memory, and processing speed, with some brain-imaging studies suggesting increased gray matter volume in regions responsible for memory and learning.
Stress reduction: Tai chi lowers cortisol levels by 20-30% after a single session while simultaneously boosting the release of natural mood-enhancing and pain-relieving endorphins. Regular practitioners report significant decreases in anxiety and depression symptoms.
Improve sleep quality: 65% of seniors with insomnia who practice tai chi fall asleep faster and sleep 48 minutes longer on average.
What Equipment and Clothing Do You Need for Tai Chi?
You need almost nothing to start tai chi — flat, flexible-soled shoes and loose, comfortable clothing are really the only requirements.
What to wear:
- Flat-soled shoes with good grip — running shoes with thick, cushioned soles actually work against you here, since you need to feel the ground.
- Loose-fitting bottoms — sweatpants, yoga pants, anything that lets you drop into a low stance without restriction.
- Breathable top — long sleeves are fine, tight compression gear isn’t necessary.
Optional but nice to have:
- A yoga mat or non-slip rug if practicing on hardwood or tile.
- A sturdy chair nearby (even for standing practice) to keep yourself steady during balance exercises
- A water bottle — sessions run 10-45 minutes and you’ll want it.
Safety Considerations Before Starting Tai Chi
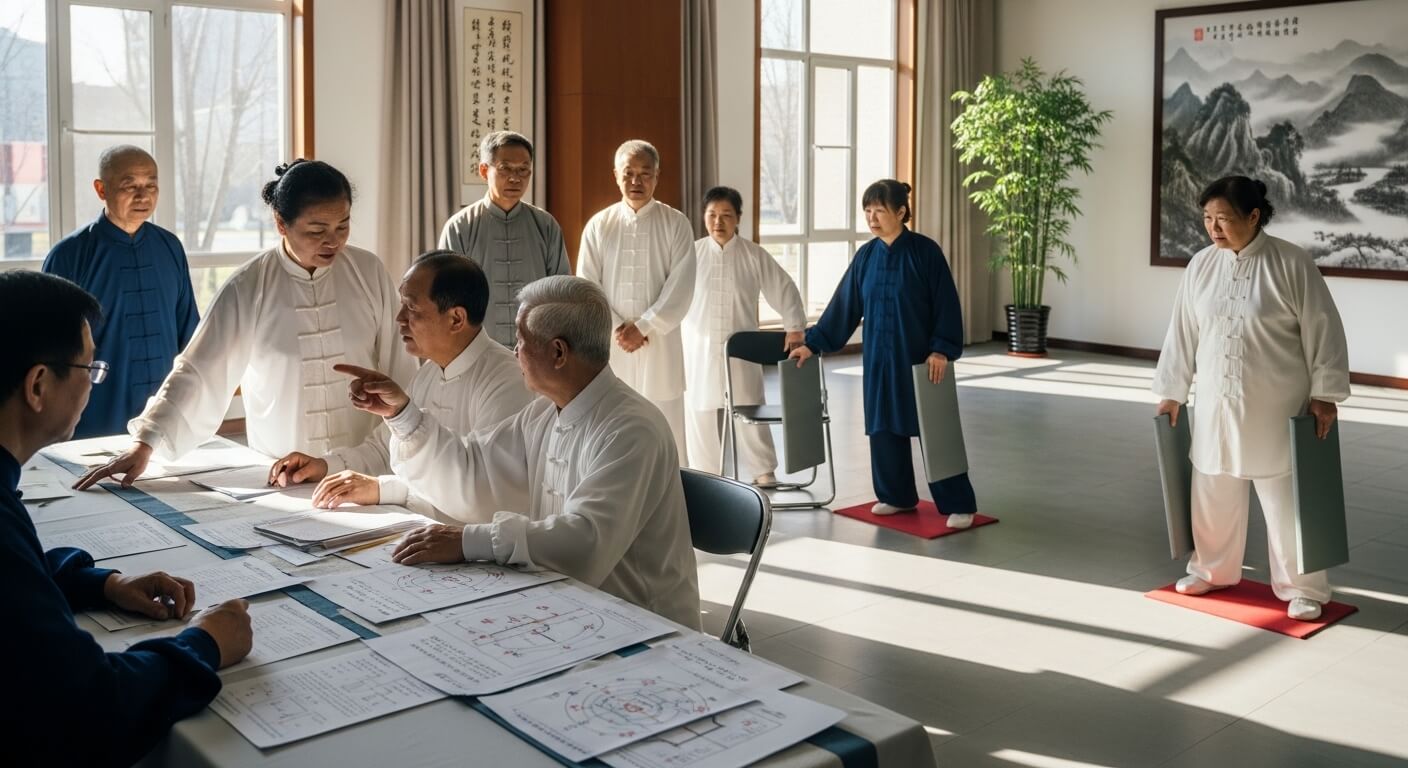
For most seniors, either standing or seated chair tai chi is among the safest forms of exercise. However, you should take the following precautions before you begin your first session:
- Talk to your doctor before starting if you have a heart condition, joint replacement, severe osteoporosis, balance disorder like vertigo, or a recent injury or surgery, since it may be safer to perform seated chair tai chi
- Warm up first — even 3-5 minutes of gentle arm circles and ankle rolls.
- Practice on a flat, uncluttered surface — clear the rugs, cords, and pets out of the way.
Stop and rest if you experience:
- Sharp or shooting pain (mild muscle fatigue is normal, sharp pain isn’t)
- Dizziness or lightheadedness
- Chest tightness or shortness of breath
- Joint pain that worsens rather than eases
20-Minute Tai Chi Workout Routine
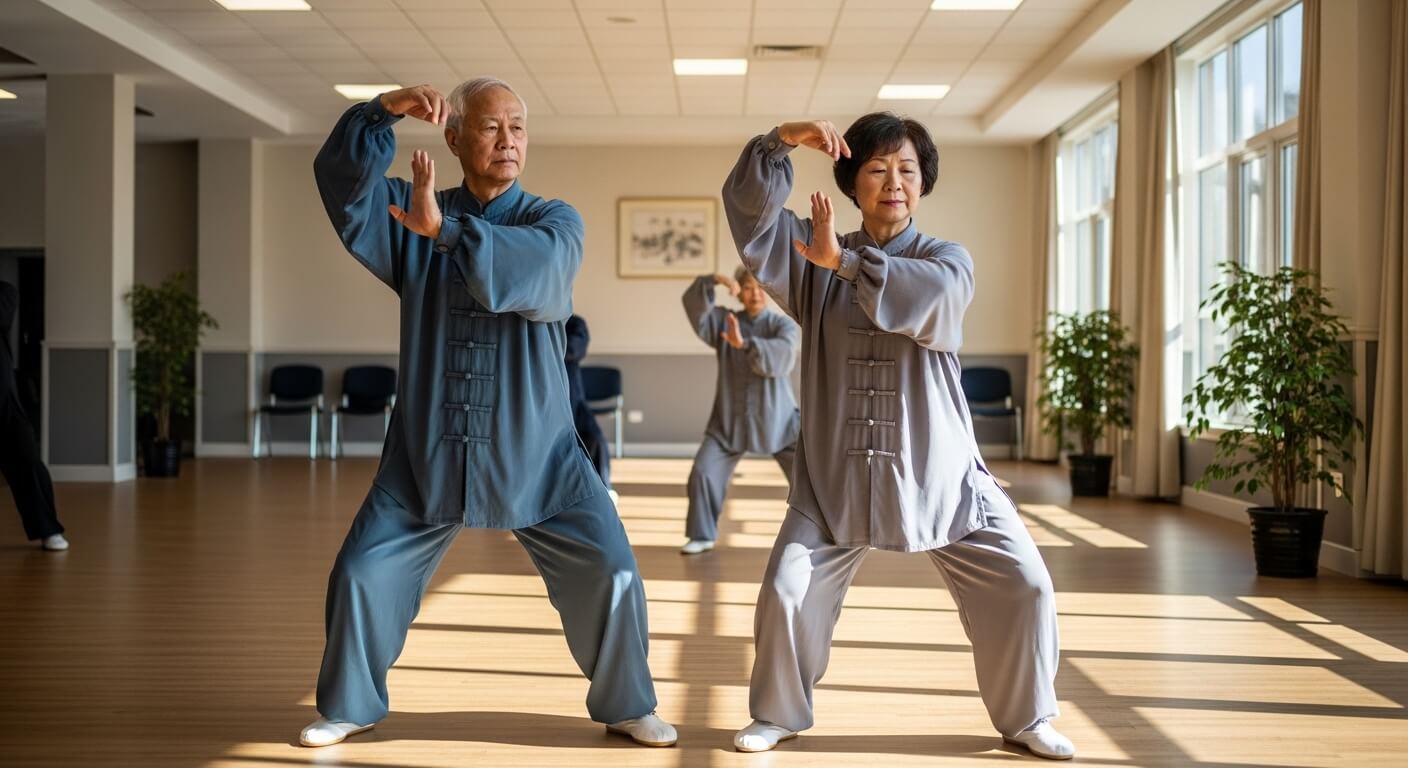
I structure this 20-minute routine in a specific sequence — gentle openers first, stepping forms in the middle, the most balance-demanding forms late but before fatigue sets in, and a calming closing posture — because this order safely builds intensity and protects against injury.
All 15 forms come from the simplified 24-form Yang style, but this order differs from both the traditional 24-form sequence and the learning order in the 12-week schedule below. Rep counts cover both sides; slower practitioners can do 2 repetitions per side. Click any exercise name to jump to its instructions.
| Exercise | Timing/Reps | Benefits |
|---|---|---|
| Commencement Form (Qi Shi) | 0:00-1:00/3 | Grounds the body, builds posture awareness, and calms mind |
| Parting the Wild Horse’s Mane | 1:00-2:30/3 per side | Improves full-body coordination, balance, and core strength |
| Brush Knee and Twist Step | 2:30-3:45/3 per side | Improves weight-shifting control and leg strength |
| Withdraw and Push | 3:45-4:45/4 | Builds smooth forward-and-back weight transfer |
| White Crane Spreads Its Wings | 4:45-6:15/3 per side | Counteracts rounded posture and strengthens postural muscles |
| Playing the Lute | 6:15-7:45/3 per side | Strengthens the ankle and hip stabilizers and retrains single-leg balance |
| Single Whip | 7:45-9:00/3 per side | Increases shoulder flexibility, improves upper-body coordination, and stretches the chest |
| Fan Through the Back | 9:00-10:15/3 per side | Mobilizes the shoulders and upper back and strengthens the legs |
| Wave Hands Like Clouds | 10:15-11:30/3 cycles per side | Strengthens the core, improves lateral balance, and enhances spinal rotation |
| Repulse the Monkey | 11:30-12:45/3 per side | Trains backward balance, strengthens the legs, and improves coordination |
| Grasp Sparrow’s Tail | 12:45-14:15/2 per side | Improves balance, stability, and body coordination |
| Golden Rooster Stands on One Leg | 14:15-15:45/3 per leg (5-second hold) | Builds single-leg strength, hip stability, and proprioception |
| Needle at Sea Bottom | 15:45-16:45/4 | Stretches the lower back and supports spinal flexibility |
| Cross Hands | 16:45-18:15/4 | Resets posture and alignment and calms the breath before the finish |
| Closing Form (Shou Shi) | 18:15-20:00/1, plus a 30-60 second standing pause | Lowers heart rate, calms the nervous system, and signals recovery to the body |
Coordinating Breath with Tai Chi Movements
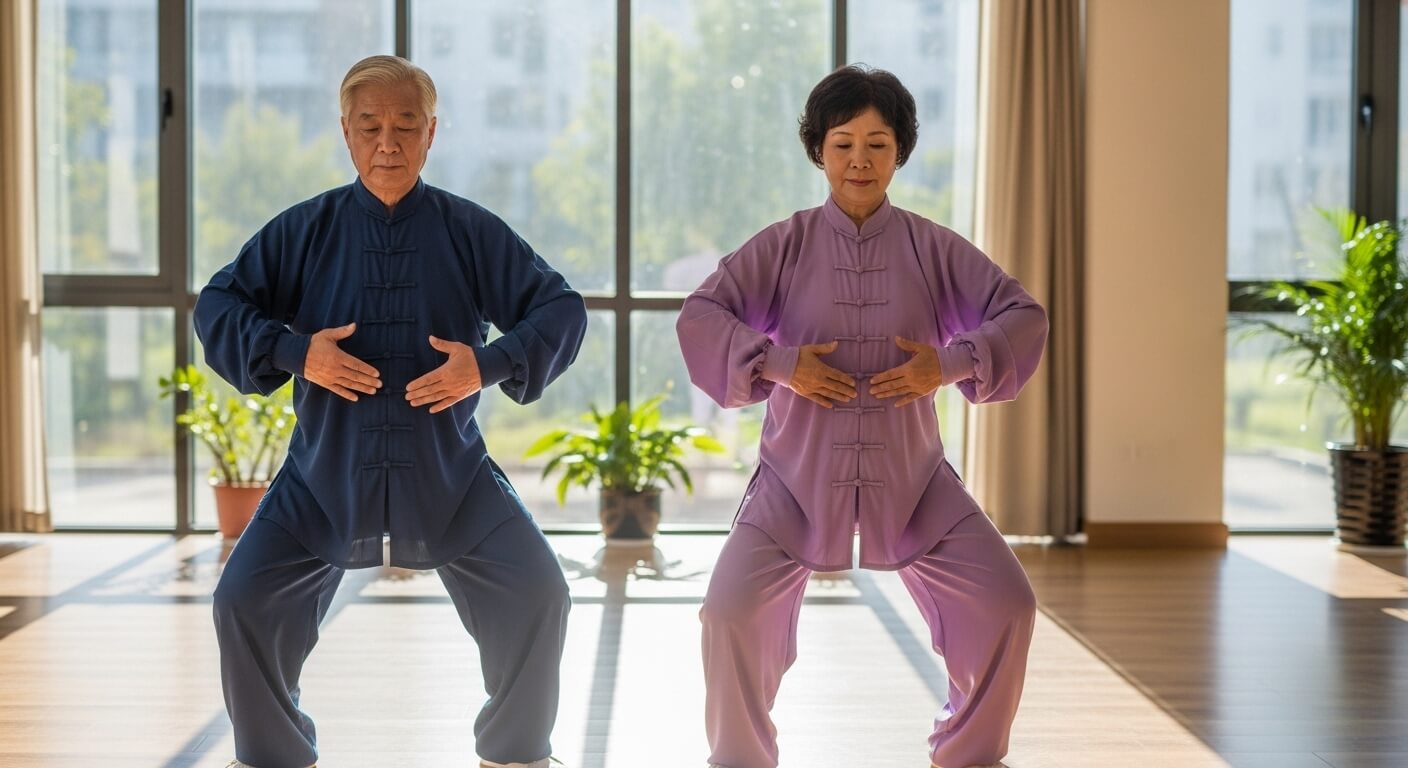
Proper breathing enhances both standing and chair tai chi’s physical benefits and promotes relaxation and mental clarity. The basic pattern is natural: inhale during gathering, lifting, or defensive movements, and exhale during extending, lowering, or pushing actions. When cues conflict (for example, shifting weight back while pushing forward), breathe with your hands: inhale as they draw in or gather, exhale as they extend or push. For sideways turns, inhale turning one way and exhale turning the other.
Natural Breathing Fundamentals
Never force your breath. Breathe through your nose when possible, letting your belly expand on the inhale and contract on the exhale. This diaphragmatic (“belly”) breathing activates the parasympathetic nervous system, reducing stress and helping lower blood pressure.
Key breathing characteristics:
- Each inhale or exhale lasts about 3-6 seconds (a little longer in the closing forms)
- Matches the slow tempo of tai chi movements
- Feels effortless and natural throughout
- If gasping or holding breath, slow down movements
Matching Breath to Movement Patterns
| Inhale When You: | Exhale When You: |
|---|---|
| Raise your arms upward | Lower your arms downward |
| Shift weight backward | Shift weight forward |
| Gather energy toward your center | Extend arms away from your body |
| Open your chest or expand your body | Push, press, or release energy |
1. Commencement Form — Best for Starting Every Session
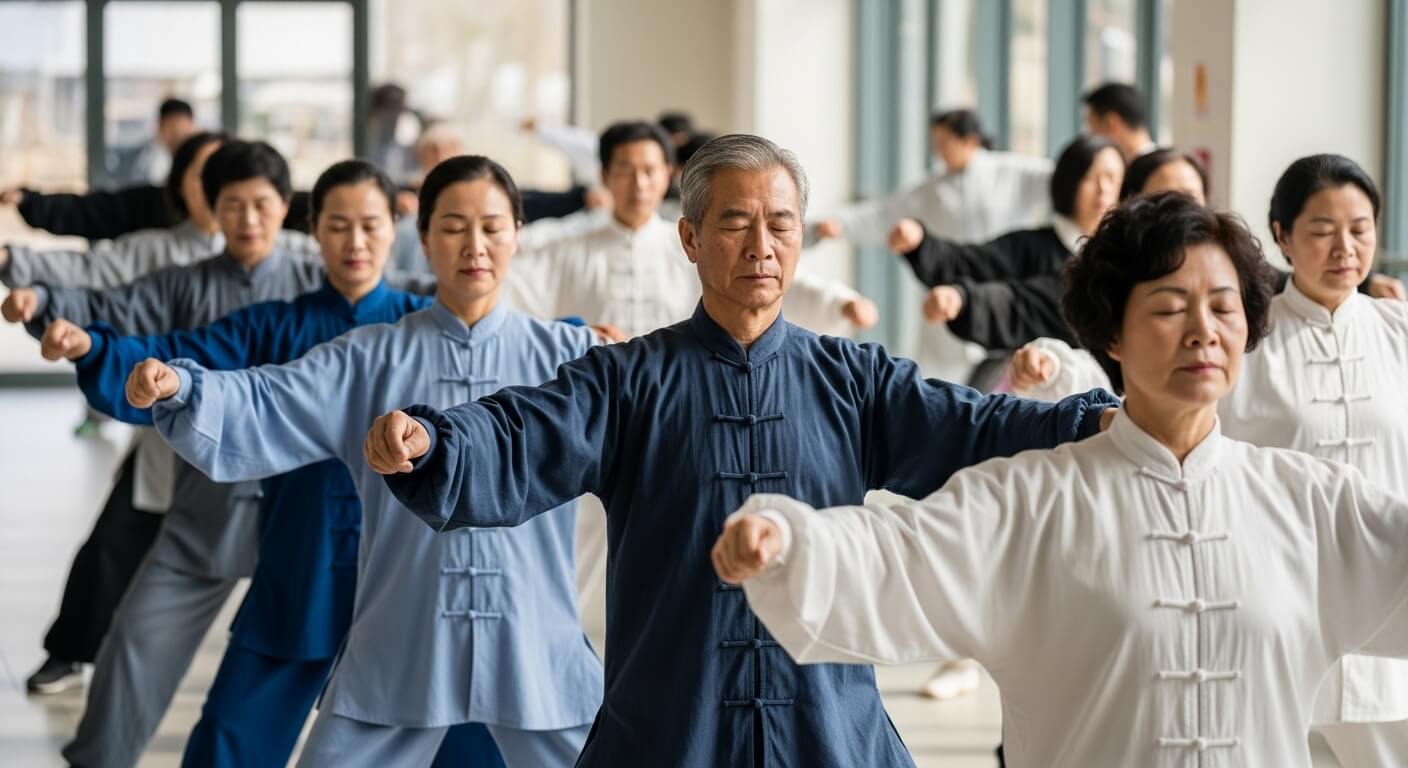
I place Commencement Form at step 1 because it is the traditional standing tai chi opening and the simplest form, setting your stance, weight, and breathing before more complex movements.
Benefits: Grounds the body, builds posture awareness, and calms the nervous system.
Instructions:
- Stand with feet together, arms relaxed, eyes forward (exhale, 4 seconds).
- Step your left foot out to shoulder width, knees soft (inhale, 3 seconds).
- Raise both arms forward to shoulder height, palms down, wrists relaxed (continue inhaling, 4 seconds).
- Lower your palms to hip level as your knees bend slightly (exhale, 5 seconds).
- Repeat the raise and lower 3 times, shoulders down, weight even.
2. Parting the Wild Horse’s Mane — Best for Full-Body Coordination
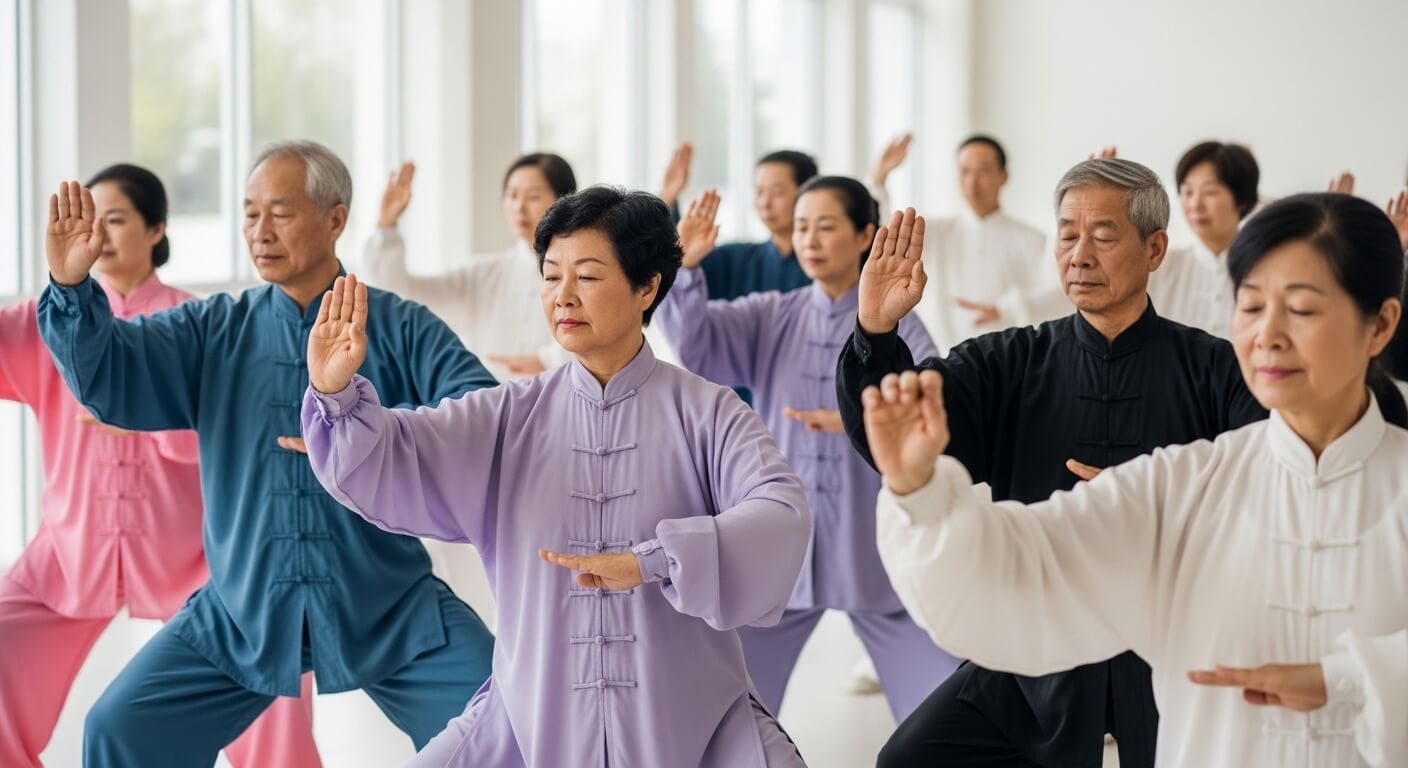
I place this form at step 2 because it integrates arm, leg, and torso coordination in one flowing motion.
Benefits: Improves full-body coordination, strengthens legs, and opens the chest and shoulders.
Instructions:
- Shift weight onto your right leg and hold an imaginary ball at chest height, right hand on top (inhale, 4 seconds).
- Step your left foot forward, heel first, bending the knee (continue inhaling).
- Separate your hands diagonally: left hand rises to eye level, right hand lowers beside your right hip (exhale, 5 seconds).
- Shift about 70% of your weight into the front leg as the separation completes.
- Switch sides by sitting back, turning the front toes out, gathering the ball with the opposite hand on top, and stepping forward with the other foot. Do 3 per side.
3. Brush Knee and Twist Step — Best for Lower Fall Risk
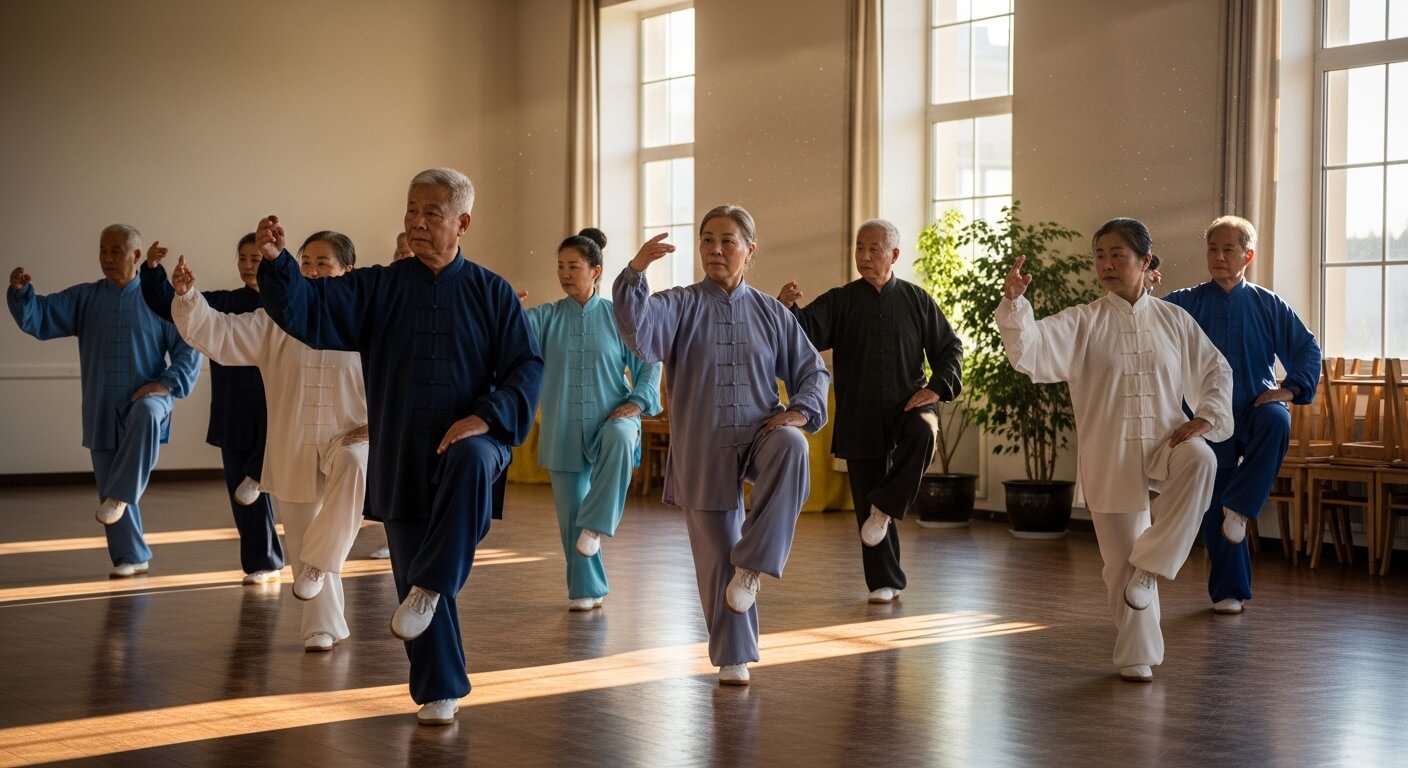
I place this movement at step 3 because it trains the weight-shifting and knee-clearing mechanics tied to lower fall risk in fall-prevention research.
Benefits: Improves weight-shifting control, strengthens the legs, and supports lower fall risk.
Instructions:
- Shift weight onto your back leg, back hand raised beside your ear (inhale, 4 seconds).
- Step forward with the opposite foot, heel first (continue inhaling).
- Brush the hand on the stepping side down past your knee as you shift weight forward (exhale, 4 seconds).
- Push the raised hand forward at chest height, palm out, as the step completes and the brushing hand rests beside your hip.
- Alternate sides, 3 per side.
4. Withdraw and Push — Best for Smooth Weight Transfer
I place Withdraw and Push at step 4 because this simple back-and-forth weight shift, with no turning or new stepping, gives you a breather after two stepping forms.
Benefits: Builds smooth forward-and-back weight transfer and gently works the arms and legs.
Instructions:
- Start in a shallow forward stance, weight mostly on the front leg, both hands extended forward, palms up (exhale gently, 3 seconds).
- Shift weight onto the rear leg as your hands draw in toward your chest (inhale, 4 seconds).
- Turn your palms to face forward, fingers up, at chest height (continue inhaling).
- Shift weight into the front leg as you push both palms out smoothly (exhale, 4 seconds).
- Repeat 4 times, back upright, knees soft.
5. White Crane Spreads Its Wings — Best for Posture
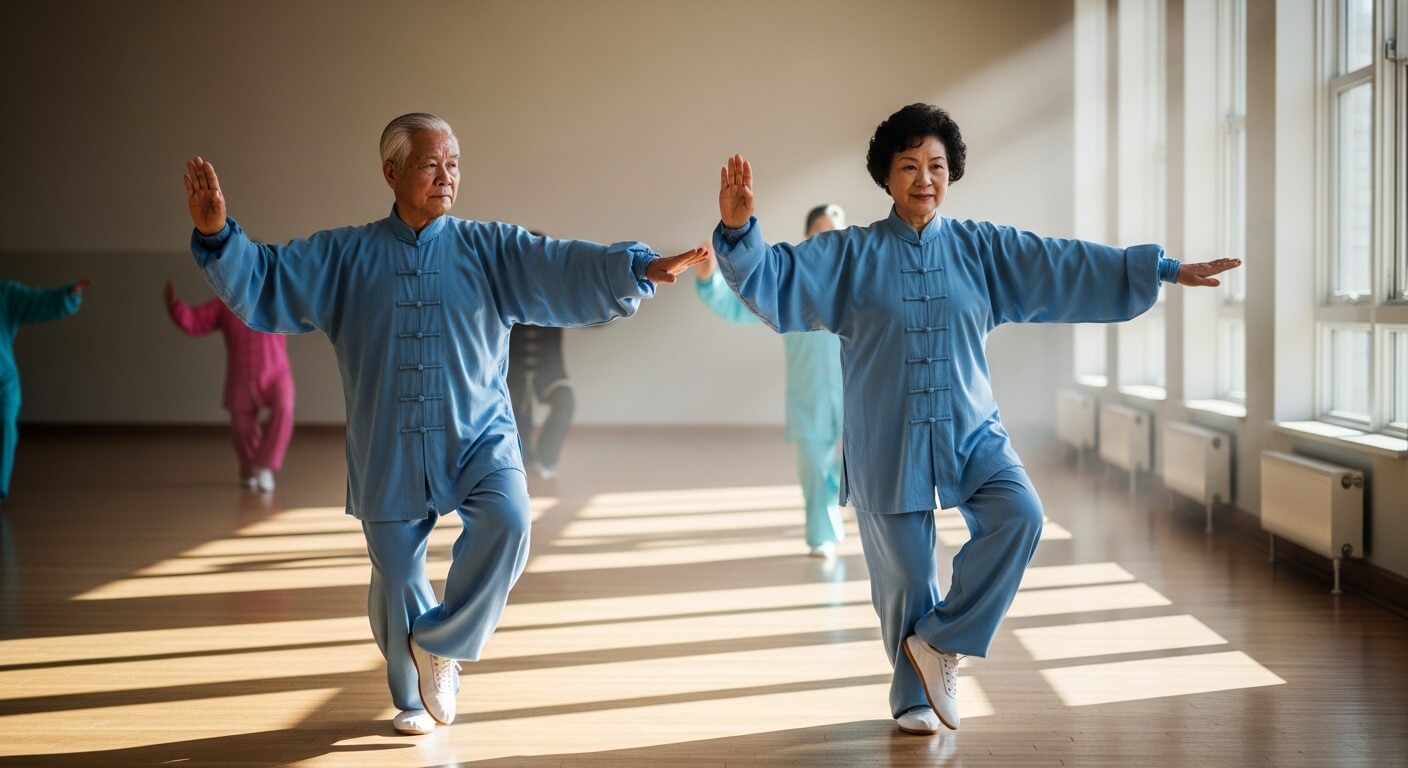
I place this form at step 5 because the wide arm opening counteracts the forward-rounded posture common in older adults.
Benefits: Opens the chest, strengthens postural muscles, and improves upright alignment.
Instructions:
- Stand with weight on your right leg, left foot a half step ahead with only the toes touching (beginners: keep the left foot flat), hands in front of your chest (exhale gently, 3 seconds).
- Raise your right hand to just above your right temple, palm angled inward (inhale, 4 seconds).
- Lower your left hand beside your left hip, palm down (continue inhaling).
- Hold 3–5 seconds, breathing normally.
- Return to center, lowering your arms (exhale, 3 seconds); repeat 3 times per side.
6. Playing the Lute — Best for a Gentle Empty Stance
I place Playing the Lute at step 6 because it deepens the empty stance (weight on one leg, only the front heel touching) in a controlled, low-risk way before the harder single-leg work in Golden Rooster Stands on One Leg.
Benefits: Strengthens the ankle and hip stabilizers, retrains single-leg balance, and builds confidence shifting weight onto one leg.
Instructions:
- Shift about 90% of your weight onto your back leg, knee soft (inhale, 6 seconds for steps 1-3).
- Draw your front foot back slightly, then rest only the heel on the floor, toes lifted, knee relaxed (continue inhaling).
- Raise your front-side hand to chest height, palm facing sideways, and hold the other hand near that elbow, as if cradling a lute (continue inhaling).
- Hold 5–10 seconds, breathing steadily.
- Release by lowering your hands and foot (exhale, 3 seconds), switch sides, and repeat 3 times per side.
7. Single Whip — Best for Shoulder Flexibility
I place Single Whip at step 7 because its wide, hooked-hand extension stretches the shoulder through a fuller range than most forms.
Benefits: Increases shoulder flexibility, improves upper-body coordination, and stretches the chest.
Instructions:
- Bring your hands together in front of your chest (inhale, 4 seconds).
- Extend your right arm out to the side at shoulder height, fingertips pinched together in a hook, wrist bent (exhale, 4 seconds).
- Step your left foot out to the side, heel first, and shift weight into it (continue exhaling).
- Turn your left palm outward and push it forward at chest height as the stance settles.
- Hold briefly, reset, and repeat 3 times per side, mirroring the movement.
8. Fan Through the Back — Best for Shoulder and Upper Back Mobility
I place Fan Through the Back at step 8 because it follows Single Whip’s shoulder work with a steady bow stance and a new arm pattern, adding variety without a big jump in difficulty.
Benefits: Mobilizes the shoulders and upper back, strengthens the legs through a steady bow stance, and improves arm-and-leg coordination.
Instructions:
- Begin with weight on your back leg, hands at chest height (inhale, 4 seconds).
- Step your left foot forward, heel first, into a bow stance with the front knee behind your toes (continue inhaling).
- Lift your right hand to just above your right temple, palm outward, elbow rounded (exhale, 4 seconds).
- Push your left palm forward at chest height, fingers up, as weight settles into the front leg.
- Hold 2–3 seconds, reset, and repeat 3 times per side.
9. Wave Hands Like Clouds — Best for Core Strength
I place this movement at step 9 because the continuous torso rotation engages the obliques and deep core more than any other form in the sequence.
Benefits: Strengthens the core, improves lateral balance, and enhances spinal rotation.
Instructions:
- Stand with feet shoulder-width apart, weight on your right leg, right hand at face height and left hand at belly height, palms toward your body (inhale, 4 seconds).
- Turn your waist left and shift weight to the left leg as your left hand rises to face height and your right hand lowers to belly height (exhale, 4 seconds).
- Step your right foot in beside your left, feet parallel and 4–8 inches apart.
- Turn back to the right, shifting weight onto your right leg as your right hand rises and your left lowers (inhale, 4 seconds), then step your left foot out to shoulder width.
- Continue the side-stepping wave for 3 cycles per side.
10. Repulse the Monkey — Best for Backward Balance
I place this movement at step 10 because stepping backward with control is much harder than stepping forward, so it specifically trains backward balance.
Benefits: Trains backward balance, strengthens the legs, and improves coordination during retreat movements.
Instructions:
- Stand with one arm extended forward and the other hand raised beside your ear (inhale, 4 seconds).
- Step your front foot straight back, toes first, shifting weight onto it (exhale, 4 seconds).
- Draw the extended hand back to your hip, palm up, as the other hand pushes forward from your ear, palm out.
- Finish with most of your weight on the back leg.
- Alternate sides, 3 per side.
11. Grasp Sparrow’s Tail — Best for Building Stamina
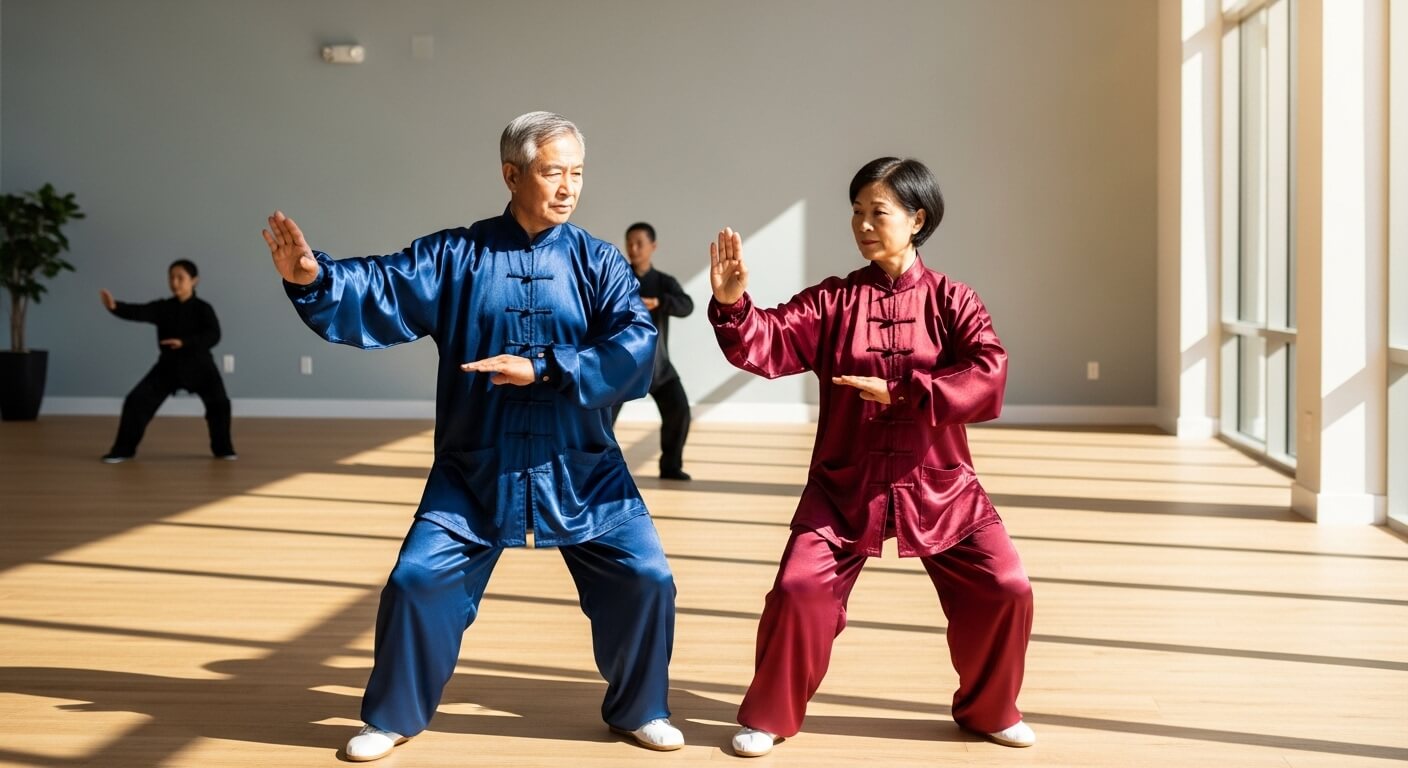
I place this form at step 11 because its four connected sub-movements create a longer, continuous flow that builds endurance more than shorter, static poses.
Benefits: Builds stamina, improves coordination, and strengthens the legs through continuous movement.
Instructions:
- Ward off — shift weight forward as your front forearm rises, rounded, to chest height, palm facing in (exhale, 4 seconds).
- Roll back — turn your waist and sit back onto the rear leg, hands drawing down and back (inhale, 4 seconds).
- Press — bring your hands together, one palm on the other wrist, and press forward as weight shifts forward (exhale, 4 seconds).
- Push — sit back as your hands separate and draw to your chest (inhale, 3 seconds), then push both palms forward as weight shifts forward (exhale, 4 seconds).
- Repeat the four-part sequence on the other side, inhaling as you turn into the next Ward off; do 2 per side.
12. Golden Rooster Stands on One Leg — Best for Single-Leg Strength
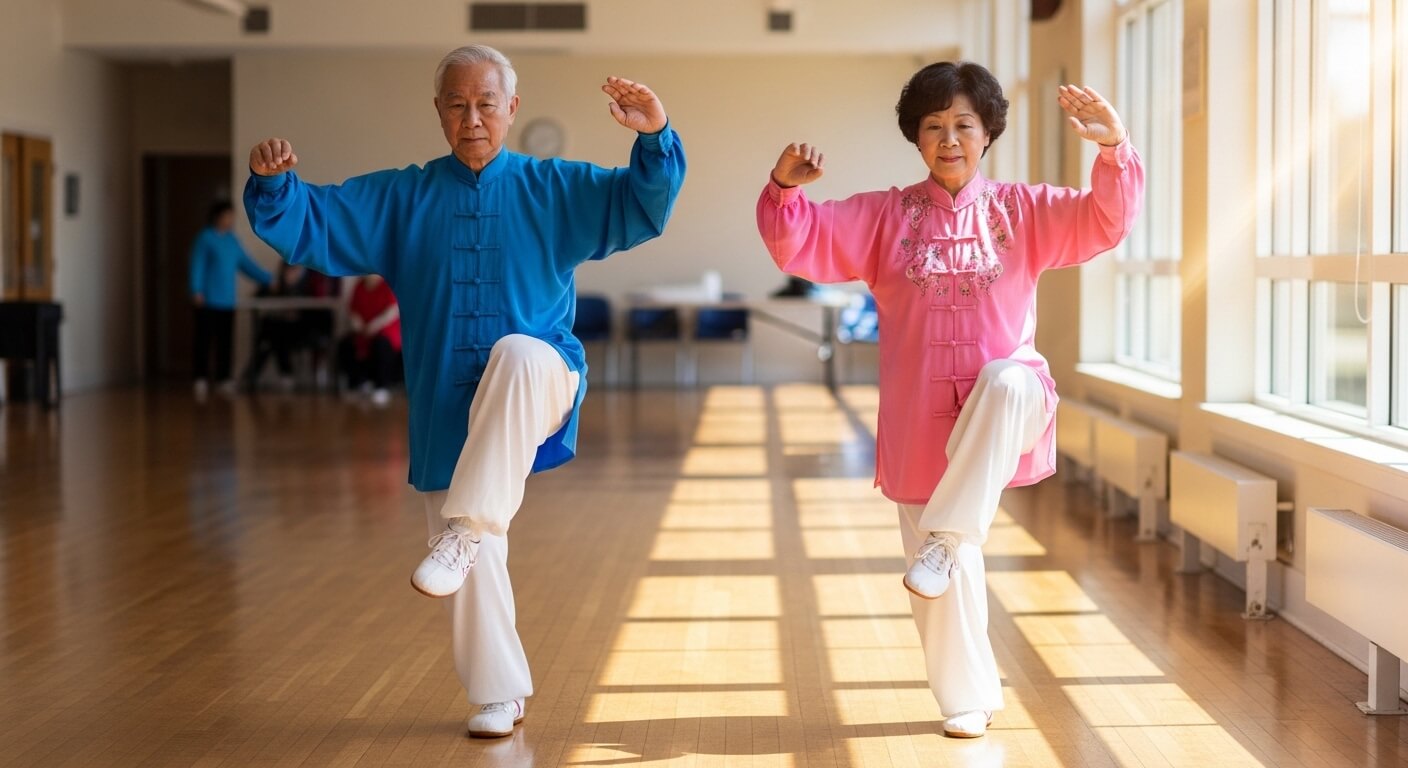
I place Golden Rooster Stands on One Leg at step 12 because it builds real single-leg strength, a strong predictor of fall resistance in older adults. It comes late, after Playing the Lute has prepared you for single-leg loading.
Benefits: Builds single-leg strength, improves hip stability, and enhances proprioception.
Instructions:
- Shift your weight fully onto your left leg (inhale, 6 seconds for steps 1-3).
- Lift your right knee to a comfortable height (hip height only if balance allows), foot relaxed (continue inhaling).
- Raise your right hand in front of your face, fingers up, elbow above the knee, and press your left hand down beside your left hip (continue inhaling).
- Hold 5 seconds, breathing evenly, with a chair or wall within reach.
- Lower slowly (exhale, 4 seconds) and switch legs, 3 per leg.
13. Needle at Sea Bottom — Best for Spinal Health
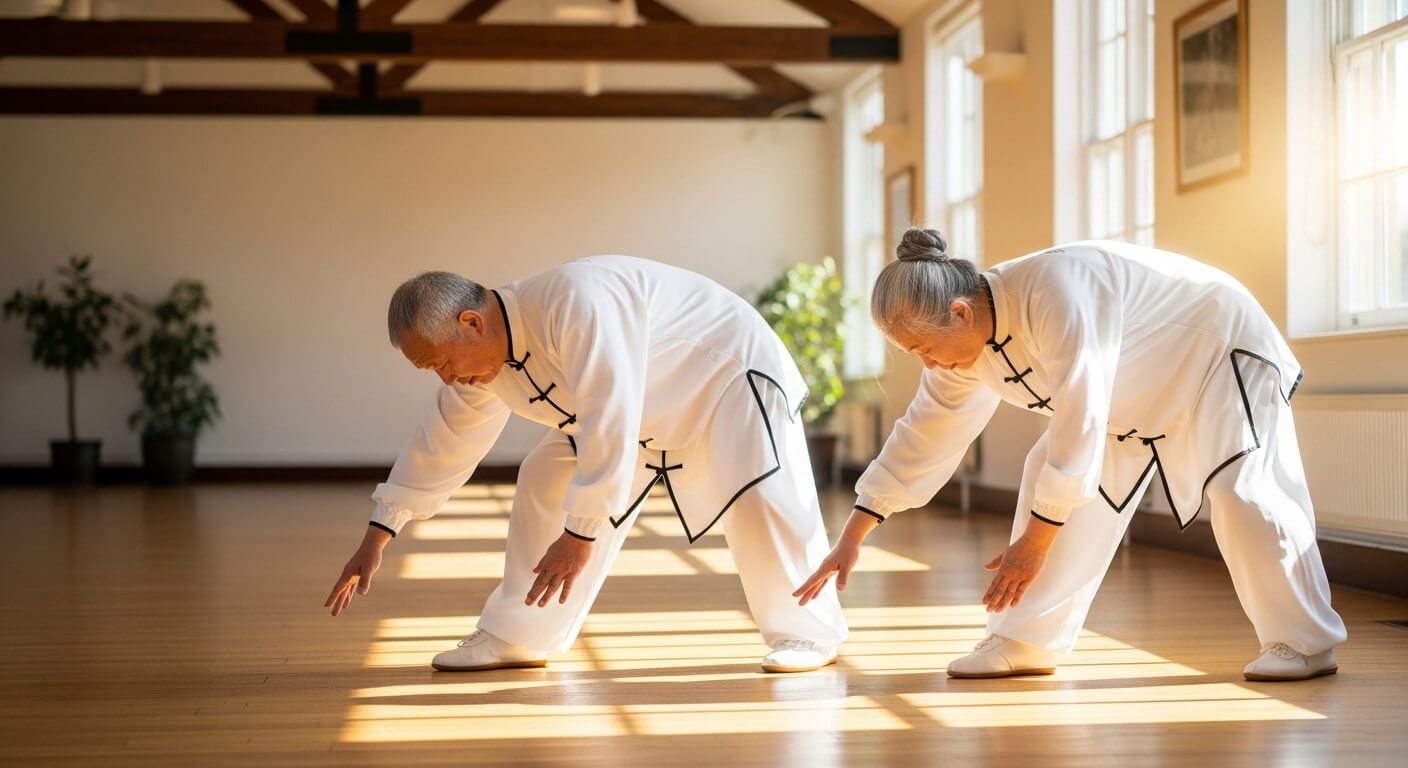
I place this form at step 13 because its forward-bending, hand-lowering motion gently stretches and strengthens the lower back, supporting spinal health in aging bodies.
Benefits: Stretches the lower back, improves spinal flexibility, and supports overall spinal health.
Caution: Keep the forward lean small if you have back pain or osteoporosis, hinge from the hips rather than rounding the spine, and stop if you feel any sharp pain. Check with your doctor first if you have severe osteoporosis.
Instructions:
- Stand with feet shoulder-width apart, right hand raised beside your right ear (inhale, 4 seconds).
- Hinge slightly forward from the hips as your right hand drops in front of you, fingertips pointing toward the floor, and your left hand lowers beside your left thigh (exhale, 4 seconds).
- Hold 2–3 seconds, spine long.
- Rise to standing (inhale, 3 seconds).
- Repeat 4 times, alternating sides.
14. Cross Hands — Best for Transitions
I place Cross Hands at step 14 because it resets your alignment between forms, easing strain as you move into the closing posture.
Benefits: Resets posture and alignment, reduces transitional strain, and calms breathing between forms.
Instructions:
- Stand with feet parallel and shoulder-width apart, weight even, arms lowered (exhale, 4 seconds).
- Raise both arms in a wide arc, crossing at the wrists in front of your chest (inhale, 4 seconds).
- Hold 2–3 seconds.
- Lower your arms slowly to your sides (exhale, 4 seconds).
- Repeat 4 times in total, then pause for 3–5 breaths before the Closing Form.
15. Closing Form (Return to Wu Chi) — Best for Recovery and Calm
I place this final form at step 15 because it is purely restorative, slowing heart rate and breath to baseline, which makes it the best way to end a session.
Benefits: Lowers heart rate, calms the nervous system, and signals recovery to the body after practice.
Instructions:
- Stand with feet shoulder-width apart, arms relaxed at your sides (exhale gently, 3 seconds).
- Raise both arms slowly to chest height, palms down (inhale, 5 seconds).
- Lower your arms gently to your sides (exhale, 6 seconds).
- Bring your left foot beside your right, feet together, and stand quietly for 30–60 seconds, breathing naturally.
- Finish by gently shaking out your hands and feet.
Common Tai Chi Mistakes to Avoid
Most tai chi problems come from a handful of habits that are easy to fix once you know to look for them.
- Locking your knees. Keep a soft bend in the knees at all times. Locked knees put stress on the joints and reduce your balance.
- Holding your breath. If you catch yourself holding your breath, slow the movement down until breathing feels natural again.
- Leaning forward or backward. Keep your head over your hips and your spine upright, especially during weight shifts.
- Moving too fast. Speed reduces control. The slower you move, the more your legs and balance system have to work.
- Letting the front knee pass the toes. In bow stances, keep the knee over the ankle so the joint stays protected.
- Tensing the shoulders. Let the shoulders drop and the elbows stay slightly bent. Tension in the upper body disrupts breathing and balance.
12-Week Tai Chi Training Schedule for Beginner Seniors in Their 50s, 60s, or 70s
I structure this 12-week schedule in progressive stages so beginners build balance and strength safely before adding longer, more complex sequence.
A beginner tai chi schedule should progress gradually from standing basics in weeks 1-4 to full flowing sequences by week 12, practicing 3-4 times per week and building from 10-15 minute sessions up to the full 20-minute routine.
| Weeks | Focus | Exercises | Session Length |
|---|---|---|---|
| 1-2 | Foundations | Commencement Form, Parting the Wild Horse’s Mane, Brush Knee and Twist Step, Closing Form | 10-12 min |
| 3-4 | Weight shifting | Add Withdraw and Push, Playing the Lute | 12-15 min |
| 5-6 | Posture & stretch | Add White Crane Spreads Its Wings, Single Whip | 15 min |
| 7-8 | Arm flow & rotation | Add Fan Through the Back, Wave Hands Like Clouds | 15-18 min |
| 9-10 | Building sequences | Add Repulse the Monkey, Grasp Sparrow’s Tail | 18-20 min |
| 11 | Advanced balance | Add Golden Rooster Stands on One Leg, Needle at Sea Bottom | 20 min |
| 12 | Full integration | Full 20-minute routine, adding Cross Hands | 20 min |
A few notes on pacing:
- Don’t rush the progression. If week 4 still feels shaky, stay there another week. No penalty for going slow.
- Three sessions a week is the sweet spot. More isn’t necessarily better — recovery matters too.
- End every session with the Closing Form. It slows your heart rate and breath, even in the shorter early sessions.
- Reassess at week 6. If balance and stamina feel noticeably better, you’re on track. If not, consider a class or instructor check-in.
How Long Until You See Results from Tai Chi?
Results build gradually, and the research cited above is the best guide to what to expect. Individual timelines vary with your starting fitness, how consistently you practice, and any health conditions.
- First few weeks: These are mostly about learning the forms and building the habit, so be patient.
- About 12 weeks: The trials mentioned earlier found significant balance improvements after about 12 weeks of regular practice.
- About 3 months: Arthritis patients often report less joint pain by this point.
- Within the first year: The study cited earlier found a 43% reduction in the rate of falls after less than 12 months of practice.
Chair-Based Tai Chi Exercises for Seniors with Limited Mobility
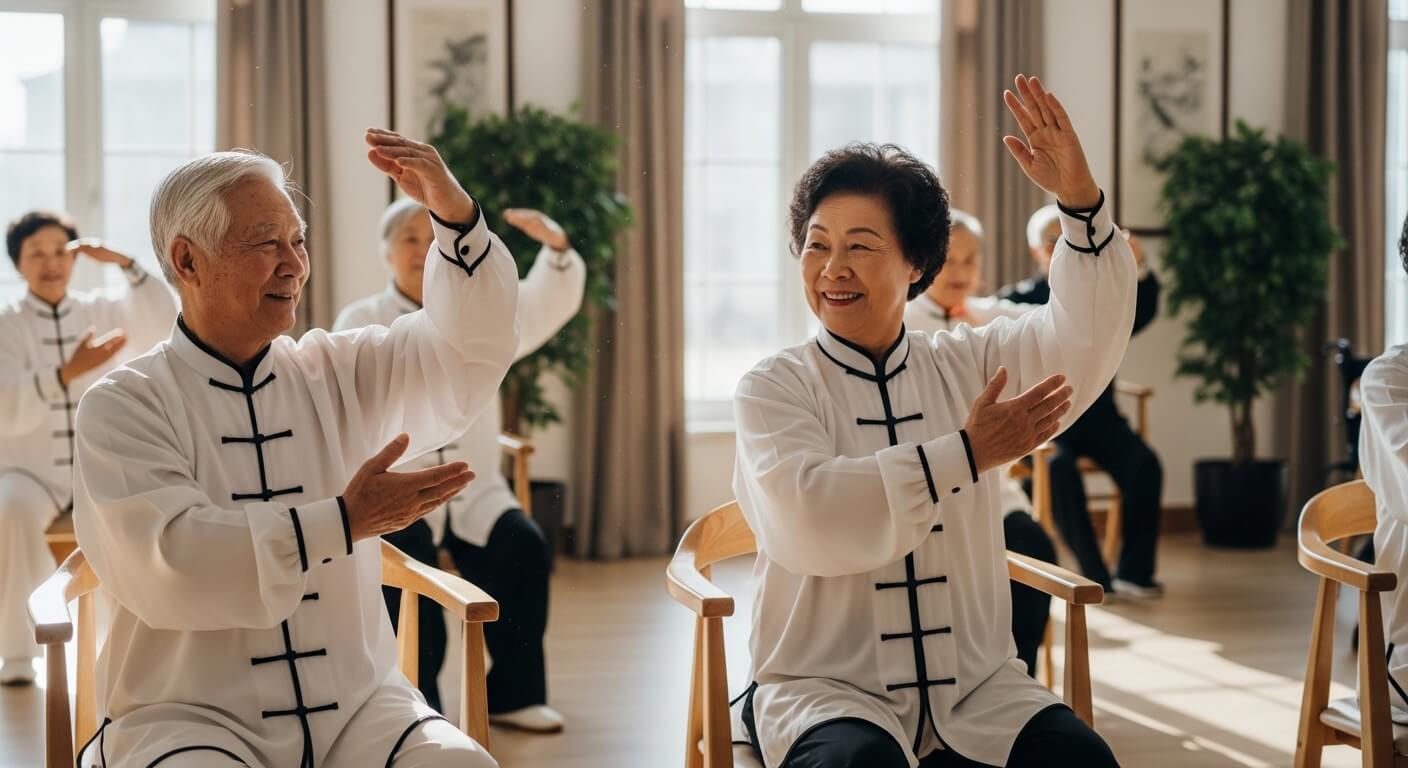
I recommend chair-based tai chi for seniors with significant balance impairment, joint pain, or recovery limitations because it preserves the breathing and movement benefits of standing tai chi while removing fall risk entirely.
Seated tai chi adapts the same weight-shift, breath, and arm movements to a chair, giving seniors with limited mobility or balance concerns full access to tai chi’s benefits without any standing risk. You keep most of the benefit sitting down — just adapt the mechanics.
Benefits of Chair-Based Tai Chi
- Preserves shoulder and arm engagement since seated sweeping motions still fully activate the deltoids and upper back.
- Keeps core muscles working through seated rotation, without any standing-balance risk.
- Maintains breath-movement coordination, which is where most of the stress-relief and cognitive benefit actually comes from.
- Improves seated posture and spinal alignment over time, useful for anyone who spends a lot of the day sitting anyway.
- Removes the fall-risk barrier entirely, so people who’d otherwise skip exercise altogether can still participate.
| What the Seated Version Gives Up | What the Seated Version Keeps |
|---|---|
| Full leg-strengthening benefit | Arm, shoulder, and core engagement |
| Balance training | Breath-movement coordination |
| Weight-shift practice | Range-of-motion for shoulders and spine |
| — | Full cognitive and stress-relief benefits |
Chair Setup Tips:
- Use a sturdy, armless chair so arms can move freely
- Keep feet flat on the floor, hip-width apart
- Sit toward the front edge of the chair for better posture and range of motion
Essential Chair Tai Chi Exercises
Seated Commencement Form
Benefits: Deepens breath capacity, calms the nervous system, and builds mind-body focus.
How to do it:
- Sit tall, hands on your knees. Inhale slowly (4-6 count) as you raise both arms forward to shoulder height, palms down.
- Hold briefly.
- Exhale slowly (6-8 count) as you lower your palms to your knees, shoulders soft.
- Pause for a natural breath, then repeat for 6-8 full breath cycles.
Seated Wave Hands Like Clouds
Benefits: Engages the obliques, loosens shoulder joints, and improves seated spinal mobility.
How to do it:
- Sit tall, feet flat, hands at waist height. Inhale as you rotate your torso right, right hand rising to chest height and left hand lowering to your belly.
- Exhale as you rotate back through center to the left, left hand rising to chest height and right hand lowering to your belly.
- Continue alternating for 8-10 full cycles, eyes following the upper hand.
Seated Parting the Wild Horse’s Mane
Benefits: Strengthens the shoulders and upper back, engages the core, and improves upper-body coordination.
How to do it:
- Sit tall, feet flat, holding an imaginary ball at your chest with the right hand on top. Inhale as you shift weight slightly onto your right hip.
- Exhale as you separate your hands diagonally: left hand rises to eye level, right hand presses down near your hip.
- Inhale as you gather the ball back to center with the left hand on top, shifting slightly onto your left hip.
- Exhale as you repeat the separation on the opposite side.
- Continue alternating for 6-8 repetitions per side.
Seated Closing Form
Benefits: Lowers heart rate gradually, signals a clear end point, and reinforces the calming effects.
How to do it:
- Rest your hands on your knees, feet flat. Inhale slowly as you raise your palms to chest height, palms facing down at the top.
- Exhale for a long, slow count (6-8 seconds) as you lower your hands to your knees.
- Sit quietly for 3-5 natural breaths, noticing how your body feels compared with the start.
Best Ways for Beginners to Learn Tai Chi at Home or In Person
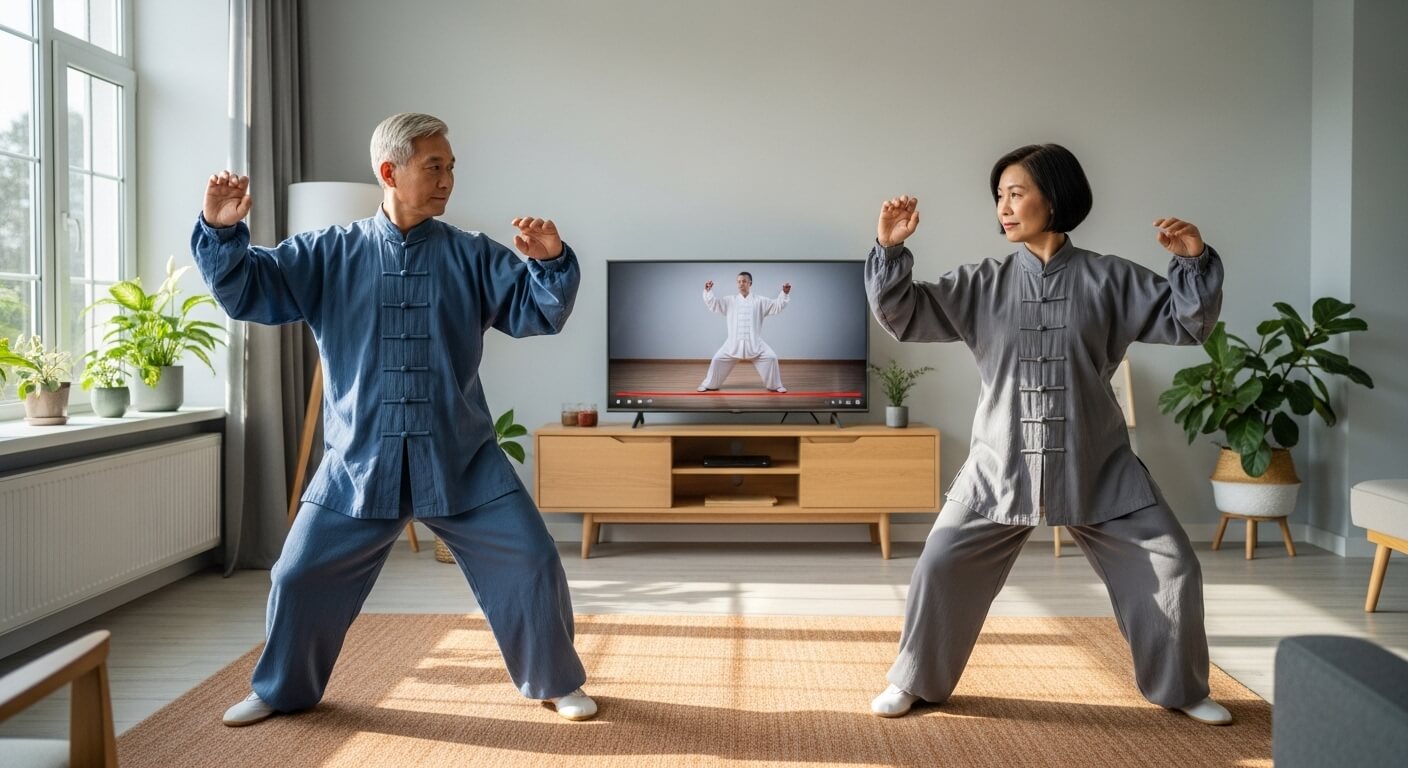
At Home
Dr Paul Lam, an Australian family physician and tai chi expert with more than 40 years of teaching experience, has a YouTube channel ‘Dr Paul Lam – Tai Chi Productions’ https://www.youtube.com/@drpaullamtaichiproductions/ that consists of more than 100 videos that contain Tai Chi lessons that can help you deal with arthritis and fall prevention. The Centers of Disease Control and Prevention (www.CDC.gov) recommends his Tai Chi for Arthritis 12 lesson DVD program for fall prevention. Over five million people around the world practice his Tai Chi for Health programs every day.
The program is based on Sun style tai chi, chosen specifically for its healing properties, Qigong breathing components, higher stances that are easier on the knee and hip joints, and effectiveness in improving mobility and balance. Its forms differ from the Yang forms in the routine above, but the slow, relaxed movement and breathing principles are the same.
The program improves muscular strength to support and protect joints (reducing pain), flexibility to reduce stiffness and improve mobility, stamina for overall health, balance (both mental and physical), and also enhances relaxation, vitality, posture, and immunity.
You can also access all 15 of Dr Paul Lam’s Tai Chi for Health programs online by visiting https://www.onlinetaichilessons.com/ and paying either a monthly fee of $40 or an annual fee of $299. If you join this program, you will also get access to his on-demand programs that cover the major forms and styles of Tai Chi including 24 forms, Sun Style 73 forms, Yang Style 40 forms, and Chen Style 36 forms.
In Person
The best ways to find qualified tai chi instruction for seniors include contacting local senior centers that offer specialized classes, researching certified instructors with geriatric training through national tai chi organizations, exploring community colleges with adaptive physical education programs, and connecting with healthcare providers who recommend therapeutic tai chi practitioners.
Also the YMCA offers free group Tai Chi classes to all YMCA members. The monthly membership fee is about $100. You will also have to pay a join fee that costs about $150. You might be able to get a monthly discount through your health insurer or if your household income is below a certain threshold.
| Program Type | Typical Cost | Class Duration |
|---|---|---|
| Senior Centers | $20-40/month | 45-60 minutes |
| Healthcare Programs | $50-100/month | 60-90 minutes |
| YMCA | Included with membership | 60 minutes |
| Community Colleges | $60-120/semester | 75-90 minutes |
| Private Studios | $80-150/month | 60 minutes |
Is Tai Chi Covered by Insurance or Medicare programs?
Original Medicare Parts A and B will not cover the costs of gym memberships or fitness programs because they are not considered medically necessary services, unless they are required for physical therapy or some other medical treatment.
However, some private insurance companies offer Medicare Advantage Part C plans and Medicare Supplement (Medigap) plans that will cover the costs of memberships to fitness programs like SilverSneakers, Silver&Fit, and Renew Active that have access to fitness programs such as Yoga and Tai Chi through participating gym locations or on-demand online videos.